
Reindeer Ornament Craft
This Reindeer Ornament Craft will make a great addition to your Christmas tree - and it's so simple to make!
Materials
- Clear plastic disc ornaments
- Brown Paint and/or Brown/Bronze Glitter
- Black Vinyl
- Red Glitter Vinyl
- White Vinyl
- Glitter-It! if using glitter to fill ornament
- Funnel
- Plastic Cups
- Reindeer Template:
- Reindeer Outline
- Reindeer Nose
- Reindeer Pupils
TOOLS
- Cricut
- Weeding Tool
- Transfer tape
- Scraper
Instructions
- You can fill your ornaments with paint or glitter (or mix up different ornaments!). Remove the tops from the ornaments.
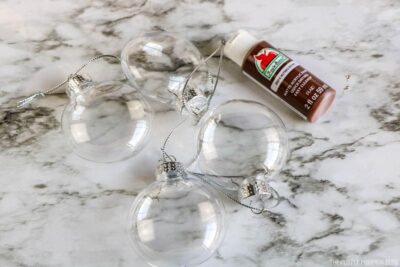
- To fill with glitter: Pour a small amount of Glitter-It! into the ornament and slowly swirl around until the inside is coated. Remove the excess Glitter-It! by pouring it into a cup.
- Using a funnel, pour brown glitter into the ornament and shake around until completely coated. Tap the ornament upside down over a different cup to remove excess glitter.
- If a thicker coat of glitter inside the ornament is desired, allow the ornament to dry overnight and repeat the previous steps.
- Once the glue is dry, replace the cap.
- To fill with paint: Pour a small amount of brown paint into the ornament and slowly swirl around until the inside is coated.

- Remove the excess paint by pouring it into a cup.

- Let the ornament rest upside down overnight to dry completely.
- Once the paint is dry, replace the cap.
- Upload the reindeer outline template to Cricut Design Space and select to remove the white background of the image. Save it as a cut file. Repeat with the nose and the pupils.
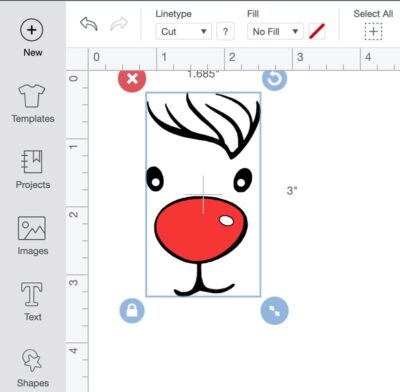
- Insert the images into your project.
- Change the nose to red and the pupils to white.
- Select the images and size to match the dimensions of the ornament.
- Send the project to your Cricut and cut the images from the correct color vinyl.
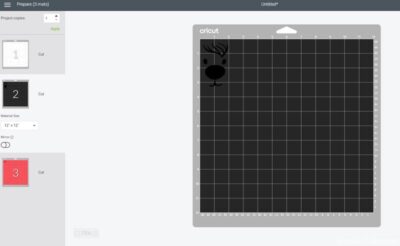
- Weed the excess away.
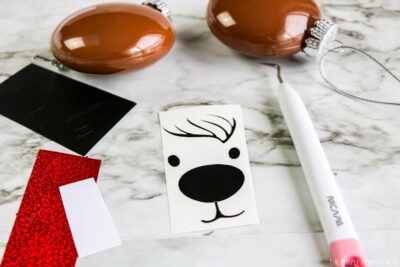
- Place the colored layers onto the black layer.
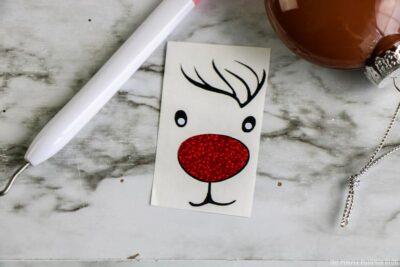
- Use transfer tape to move the designs to the ornament. Press firmly or swipe over the transfer tape with a scraper to make sure the vinyl adheres to the ornament. Pull the transfer tape away.
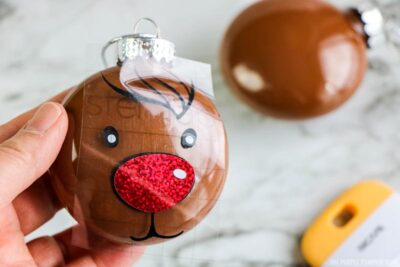
- Hang reindeer ornament on your Christmas tree!

Did you make this project? Share it!Tag @_ThePurplePumpkinBlog on Instagram with the hashtag #TPPBCreate!