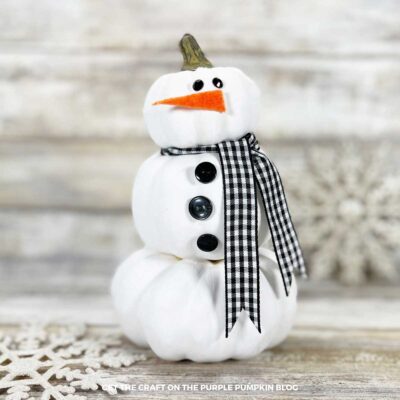
Pumpkin Snowman Craft
Turn a stack of plastic pumpkins into a charming snowman with white paint, gingham ribbon, and creative accents—perfect for winter farmhouse décor!
Materials
- 1 Triple Stack of Pumpkins
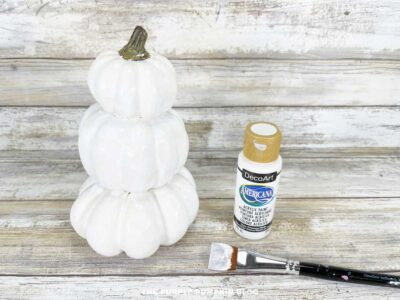
- Acrylic Craft Paint White
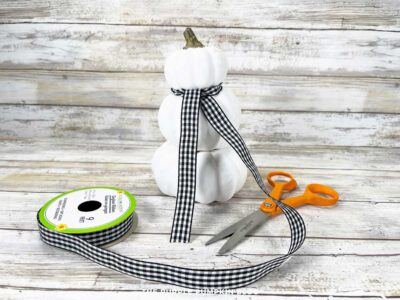
- Gingham Ribbon Black and White
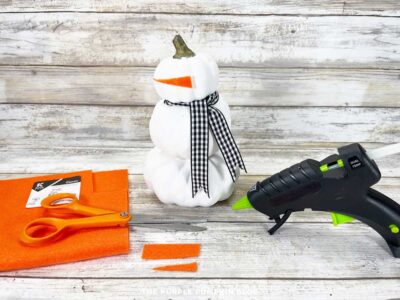
- Craft Felt Orange
- 2 Black Rhinestones
- 3 Black Buttons
Instructions
- Paint the stack of pumpkins with white acrylic craft paint and leave it to dry. Apply second and third coats if necessary. Leave the stalk unpainted.
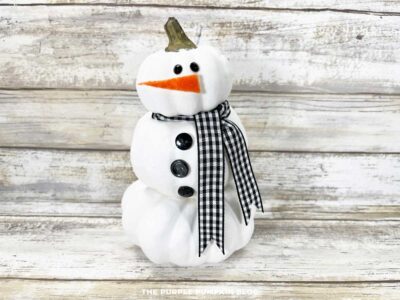
- Measure a length of black-and-white gingham ribbon to form a scarf. Tie around the snowman's neck and glue in place with a glue gun. Trim a dovetail on the ends of the ribbon to prevent fraying.
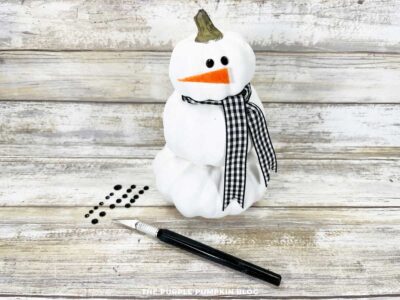
- Cut a small triangle of orange felt to create a carrot nose and glue in the middle center of the top pumpkin.
- Attach two rhinestones above the nose to create the snowman's eyes. Use a glue gun if they are not self-adhesive.
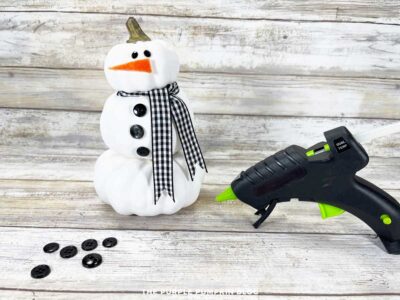
- Glue 3 black [assorted size] buttons in a vertical line on the middle pumpkin.
- When completely dry, display where desired!
Handy Tips & More Ideas
Handy Tips & More Ideas
- Paint Thoroughly: Apply at least three coats of white paint to fully cover any existing pumpkin colors or designs.
- Group Prep: If you are hosting a group for this project, use white pumpkin stacks and pre-cut felt carrots to save time.
- Scarf Colors: Use any color or style of ribbon to create a scarf. If you are inclined, you could knit or crochet a quick scarf for a homely touch!
- Express Yourself: Instead of rhinestones, use Sharpie markers to draw eyes, mouth, and other fun details on your pumpkin snowman.
- Add Some Glitter: For a fun twist, sprinkle silver glitter onto the wet paint to make your snowman shimmer! Alternatively, use Glitter Glue Pens to add details like snowflakes.
- Create Color Variations: If you live in sunnier climes, why not make a sand snowman by painting the pumpkins a sandy color?! You can also match the snowman to your holiday decor with colors like gold, silver, green, or red.
- Save on Supplies: Check clearance sales or thrift stores for plastic pumpkins to avoid extra costs.
- Seal the Paint for Durability: Protect the paint with a clear sealant like Mod Podge.
Did you make this project? Share it!Tag @_ThePurplePumpkinBlog on Instagram with the hashtag #TPPBCreate!