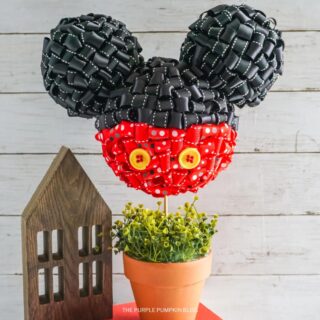
Mickey Mouse Topiary Craft with Looped Ribbons
If you love Disney décor and crafts you are going to just love making this Mickey Mouse Topiary! Using looped ribbons and lots and lots of pins, you can make this gorgeous Mickey-head topiary in an afternoon!
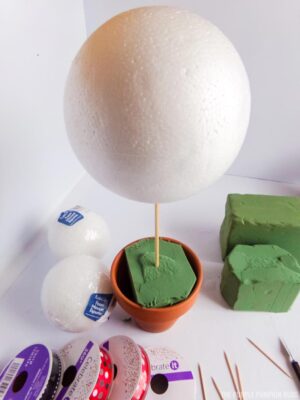
Materials
- 2 3"/7.5cm Foam Balls
- 1 5"/12.5cm Foam Ball
- 1 ¼"/½cm Wooden Dowel
- 4 Toothpicks
- 1 4"/10cm Terracotta Pot
- ⅓ Green Floristry Foam Brick approx, to fill the pot
- Faux Greenery/Plants/Moss to cover the foam in the pot
- 12 yds/11m ½"/1cm Red Ribbon, solid color or patterned
- 12 yds/11m ½"/1cm Black Ribbon, solid color or patterned
- 2 ½"/1cm Yellow Buttons
- 100-150 Sewing/Dressmaker's Pins - with red and black ends if possible
Instructions
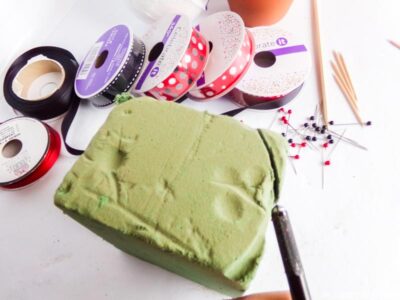
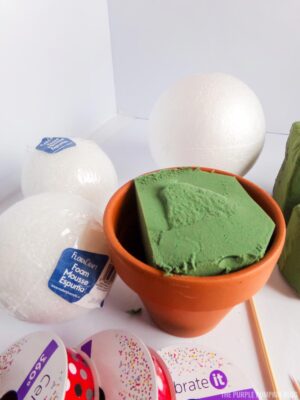
- Cut the foam to fill the terracotta pot. Place the foam into the pot, and glue it in place with a glue gun.
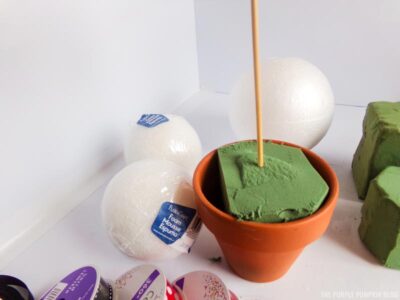
- Press the dowel at least 3"/7.5cm into the foam in the pot and add some glue to secure it in place.
- Slide the large foam ball about 2"/5cm deep onto the dowel, gluing it to secure it in place.
- Slide two toothpicks halfway into the large foam ball on either side of the ball, about 6"/15cm apart. Add hot glue to ensure that the toothpick doesn’t go any deeper.
- Press the two smaller balls onto the toothpicks, all the way to touch the large one. You now have Mickey's head and ears!

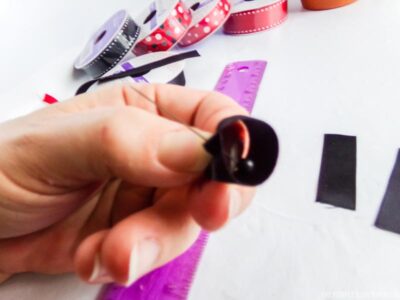
- Cut the black ribbon into 2"/5cm lengths.
- Roll a 2"/5cm length of black ribbon into a circle, overlapping the two ends by about ¼"/½cm.
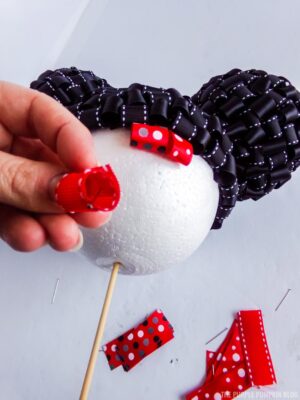
- Slide a pin from inside the loop, through the two ends of the ribbon, then press the ribbon loop into the upper half of the large ball or either of the ears. Press the pin all the way into the foam ball to ensure that the ribbon loop is secure.
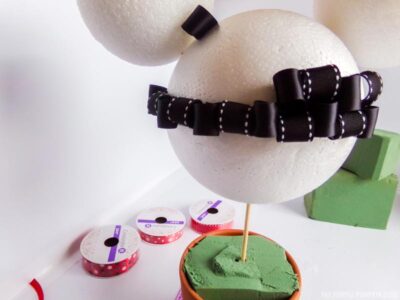
- Repeat making black looped ribbons, filling the entire upper half of the large ball and the entire surface of both of the ears.
TIP! Work across the midline of the large ball in a clean row, then worked up from there.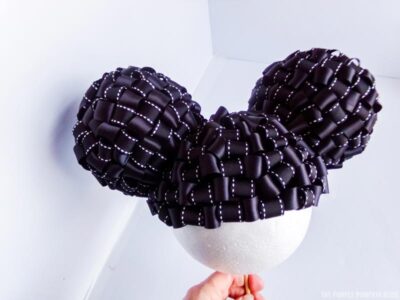
- When the top half and the ears of the topiary are complete it's time to fill in the red! Cut the red ribbon into 2"/5cm lengths.
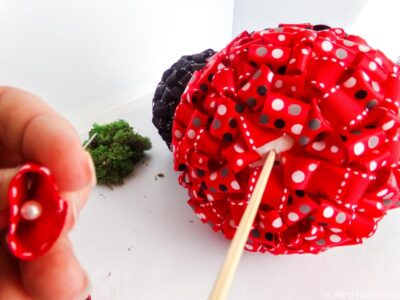
- Roll a 2"/5cm length of red ribbon into a circle, overlapping the two ends by about ¼"/½cm.
- Slide a pin from inside the loop, through the two ends of the ribbon, then press the ribbon loop into the lower half of the large ball, working along the black edge and down. Press the pin all the way into the foam ball to ensure that the ribbon loop is secure. Continue until the lower half is completely covered.
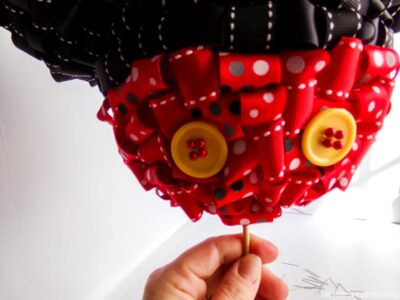
- Slide red pins through the holes in your buttons, then press the pins into the bottom half of the large foam ball, about 3"/7.5cm apart.
- Use a glue gun to attach faux greenery on top of the floristry foam in the pot.
- Display your Mickey Mouse Topiary with pride and have a magical day!

Video
Did you make this project? Share it!Tag @_ThePurplePumpkinBlog on Instagram with the hashtag #TPPBCreate!