
Jack-o'-lantern Pumpkin Embroidery Hoop Craft
This Pumpkin Embroidery Hoop Craft is the perfect Halloween activity to keep little ones busy for ages!
Materials
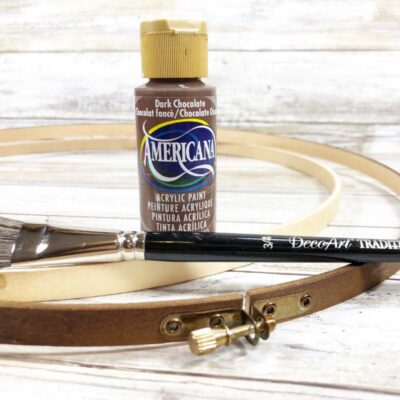
- 1 10-inchWooden Embroidery Hoop
- Dark Brown Acrylic Craft Paint
- Felt Yardage/Fabric - Orange ½ yard/18"/45cm
- Jack-o'-lantern Pattern 1 - click to download PDF to your device
- Jack-o'-lantern Pattern 2 - click to download PDF to your device
- Felt Craft Sheets - Bright Green Dark Brown, Olive Green (1 each), Black (3 each) approx 9"/22cm wide
- Green Ribbons - variety of colors and styles – 12"/30cm lengths
TOOLS
- Paint Brush
- Fabric Glue
- White Chalk Pencil
- Hot Glue Gun and Glue Sticks
Instructions
- Remove the label from the embroidery hoop. Loosen the screw at the top of the hoop and separate the inside hoop from the outside hoop. Paint the outside and front-facing edge of the outside ring of the embroidery hoop with dark brown acrylic craft paint. Set aside to dry and apply a second coat, if necessary.
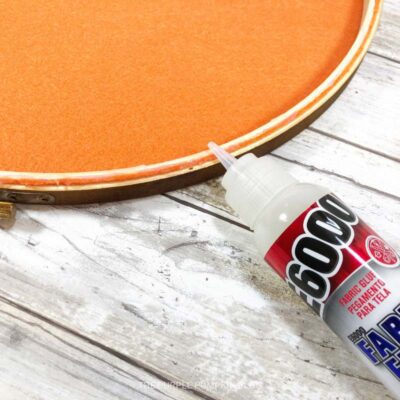
- Fit the orange felt yardage loosely into the embroidery hoop. Pull felt gently from the back to ensure the felt is taught and then tighten the screw at the top of the hoop.

- Trim the excess orange felt fabric from the back of the embroidery hoop with scissors.

- Apply a thin line of Fabric Glue to the cut edge of the orange felt to secure. Set aside to dry.
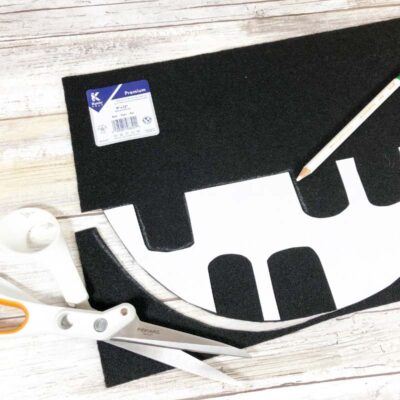
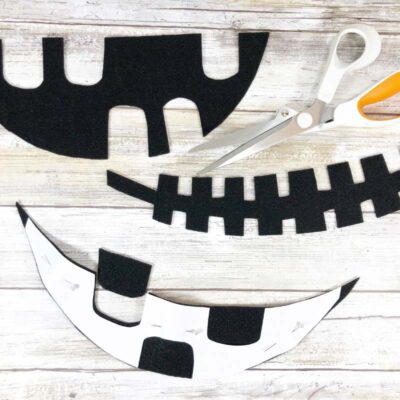
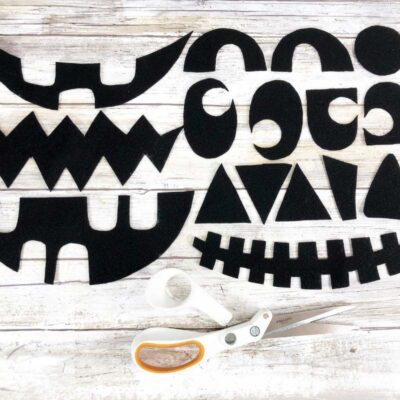
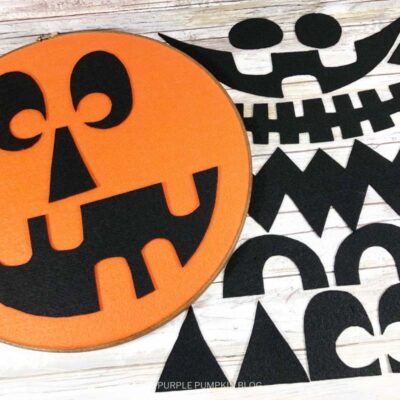
- Download, print, and cut out the Jack-o'-lantern patterns. (Have the kiddos help with this step to personalize your Jack-o'-lantern!) Cut out the patterns, trace them onto the Black felt with a white chalk pencil, and cut them out with scissors. This works great for the larger and smaller features. TIP: Make sure to cut on the INSIDE edge of the traced line so that you have clean, finished features since the eyes, noses, and mouths are reversible.
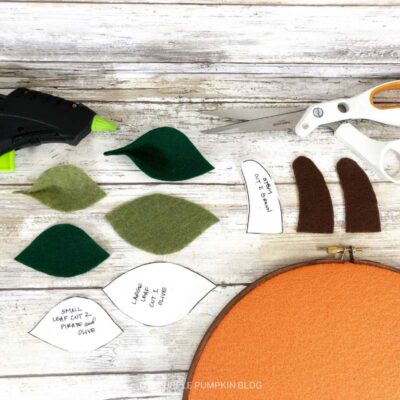
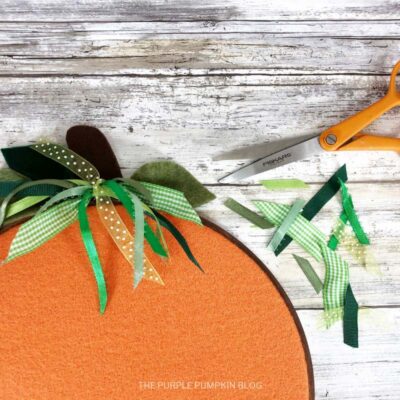
- Trace the pumpkin stem onto brown felt twice and the leaves onto bright green and olive green felt with the permanent marker, then cut out.
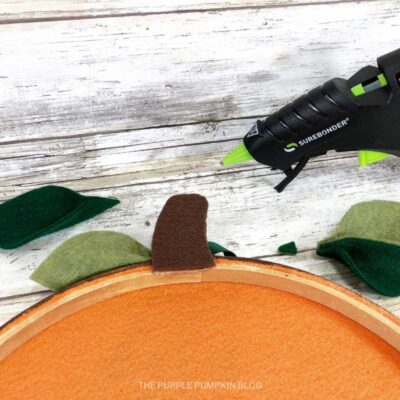
- Attach stems together with hot glue and then adhere to the back top of the hoop. Apply a half-inch bead of hot glue to the base of each leaf and fold in half to create dimension. To finish the hoop Jack-o'-lantern, glue leaves to either side of the screw at the top of the hoop.
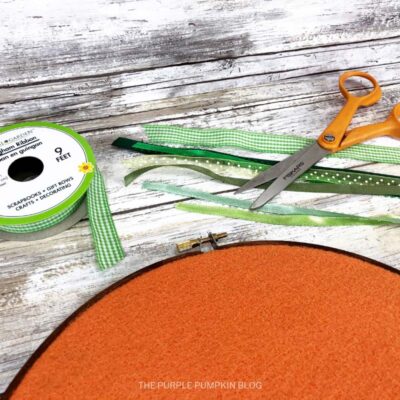
- Cut 12” lengths of five to six different green ribbons and then tie in a loose knot to the screw at the top of the embroidery hoop.
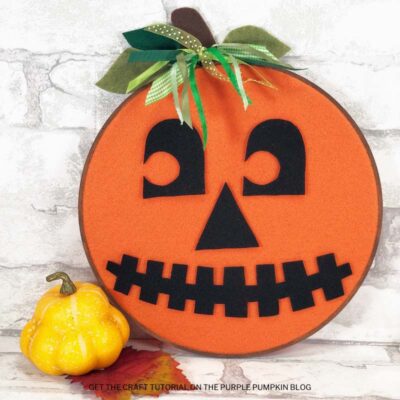
- Place Jack's face as desired - the felt features "stick" to the felt background so can be mixed and matched and changed over and over again!
- Create a hanging loop with ribbon or twine if desired, then hang (or place) where desired. Happy Halloween!
Did you make this project? Share it!Tag @_ThePurplePumpkinBlog on Instagram with the hashtag #TPPBCreate!