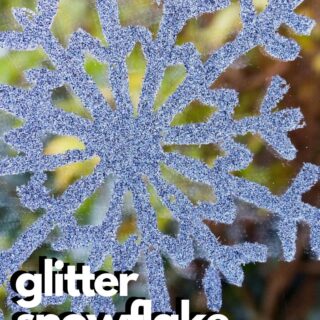
How To Make Glitter Snowflakes
These glitter snowflakes are an easy, fun, and festive craft for winter and the holidays!
Materials
- Snowflake Template
- Clear Plastic Sleeves
- White School Glue/PVA Glue - in a bottle with nozzle if possible
- Glitter any color
- Removable Glue Dots
TOOLS
- Small Paint Brush
Instructions
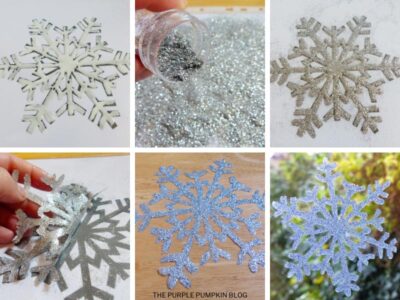
- Print your snowflake template(s) and place inside a plastic sleeve.
- Following the template, apply a thick layer of glue on the plastic sleeve. Squeeze direct from the bottle if it has a nozzle, or use a paint brush to spread the glue out. You will need to work fairly quickly, so that the glue doesn't start drying out.
- When you have completed the design, generously sprinkle glitter over the entire gluey snowflake, making sure everything is well covered.
- Gently tip the extra glitter off onto a sheet of paper, and put it back into the pot for the next one. Leave to dry for several hours (12 to 24 is best).
- When the glitte snowflake is dry, carefully peel it away from plastic sleeve.
- To attach your glitter snowflake to a window, apply glue dots to the back of the snowflake and press against the glass.
Did you make this project? Share it!Tag @_ThePurplePumpkinBlog on Instagram with the hashtag #TPPBCreate!