
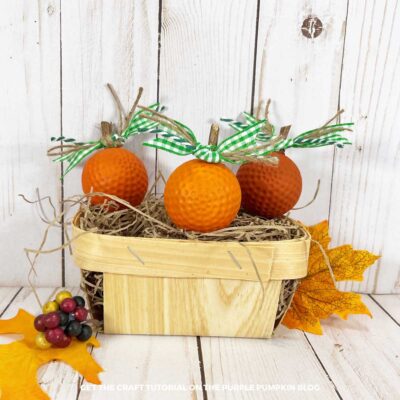
Golf Ball Pumpkins
Transform golf balls into charming pumpkins with this Golf Ball Pumpkins Craft. A perfect fall craft for home decor or tiered tray displays.
Materials
- 3 plastic golf balls
- Multi-surface acrylic craft paint in the colors Bright Orange Burnt Orange, Medium Orange
- Assorted green ribbon twine and trim scraps
- Twigs
TOOLS
- Glue Gun and Glue Sticks – Dollar Store
- Pruning Shears or Wire Cutters
Instructions
- Attach a twig to each golf ball with a glue gun and glue sticks. Hold in place until the glue dries completely.
- Paint the outside of the golf balls with bright orange, medium orange, and burnt orange acrylic craft paint. Set aside to dry by turning them upside down and placing the twig stem in the drain hole of a clay pot. Apply a second coat if required. TIP! Mix and match the colors of orange to create your own personalized colors.
- When the golf ball pumpkins are dry, trim the long stems with pruning sheers to approximately 1"/2.5cm long.
- Measure and cut the assorted green ribbon, twine, and trim into 8-inch pieces. Tie in a knot around each golf ball pumpkin stem. Trim any long ribbon ends with scissors. Display where desired.
Did you make this project? Share it!Tag @_ThePurplePumpkinBlog on Instagram with the hashtag #TPPBCreate!