
Patriotic Pinwheels
Use the free printable patterned paper to make these whimsical patriotic pinwheels for the 4th of July!
Materials
- Free Printable Patterned Paper - download in blog post
- Paper or Plastic Drinking Straw
- Push Pins or
- Split Pins
TOOLS
- Glue Stick
- [Masking Tape]
Instructions
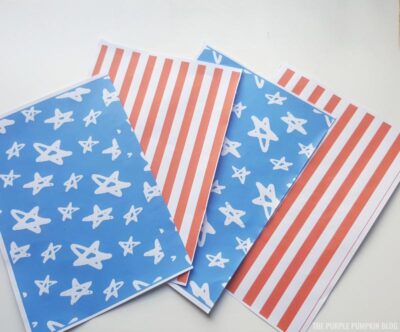
- Download and print the patterned paper. The download contains a full sheet of each pattern which you can cut into a square, as well as a square of the patterns too. Use whichever one you prefer. If your printer has a duplex option you can print on both sides, but if not, you can glue two patterns together to have a pattern on both sides, or have one side blank - the choice is yours!
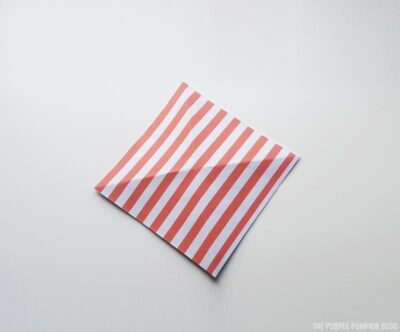
- Fold the paper square diagonally in half in one direction, and then again in the other direction to form crease lines.
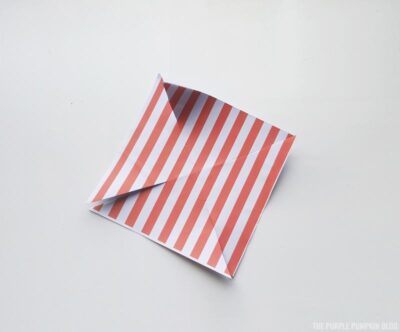
- Use scissors to cut slits about two-thirds down along each of the crease lines towards the center.
- There are now two corner ends at the end of each slit. Take one of the ends and gently fold it over into the center of the square and use a glue stick to secure it in place.
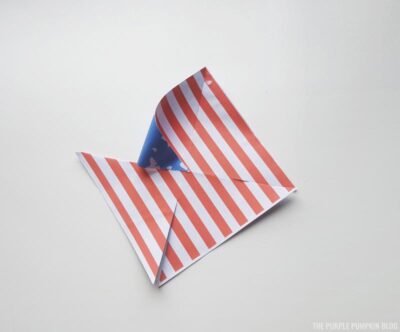
- Skip the next corner and take the one after that to fold over towards the center and glue it in place. It's kinda hard to describe so the photo should demonstrate what you need to do! Repeat two more times for the other corners.
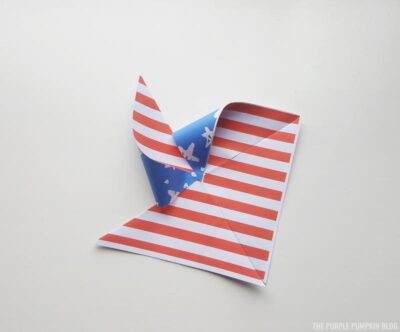
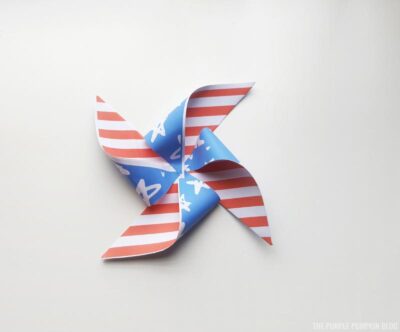
- Grab a straw and a pin for the final construction. If you are using a regular push pin then all you need to do is push it through the center of the folded square. Then push the pin and folded square onto the straw. Ball up some masking tape to stick onto the back of the pin to stop it from pricking you!

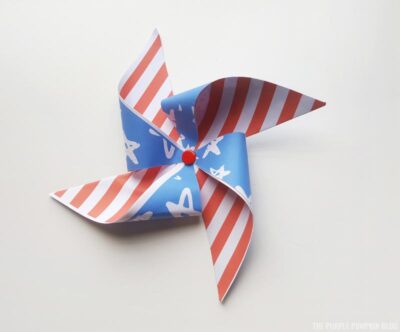
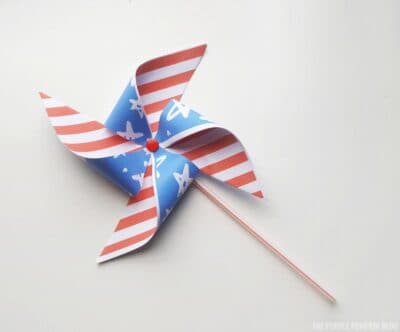
- Alternatively, you may want to use a split pin (also known as brads). Follow the steps above and split the pin once through the paper and the straw.

Did you make this project? Share it!Tag @_ThePurplePumpkinBlog on Instagram with the hashtag #TPPBCreate!