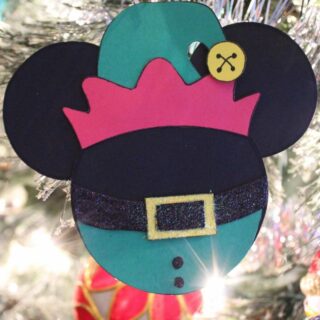
Elf Mickey Mouse Christmas Ornament Craft
This Elf Mickey Mouse Christmas Ornament is a fun Disney craft for all ages!
Materials
- Construction Paper in the following colors: Black Red, Green, Yellow
- Black Fine Glitter optional
- Yellow Fine Glitter optional
- String or Ribbon
TOOLS
- White School Glue (PVA Glue)
- Glue Stick
- Laminator & Laminating Sheets (optional)
Instructions
- Download and print out the Elf Mickey ornament template onto corresponding colored papers (Link in the blog post) and carefully cut the pieces out.
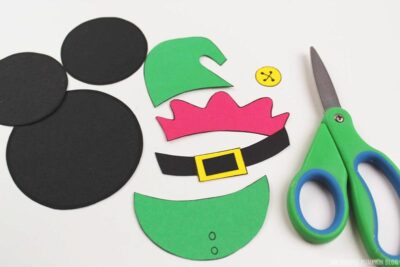
- Space the ears evenly and stick them to the back of the ornament with a glue stick
- Glue the pants at the bottom of the ornament, then the belt and buckle on top.
- Glue the hat first in the middle of the ears, and then add the trim and the bell.
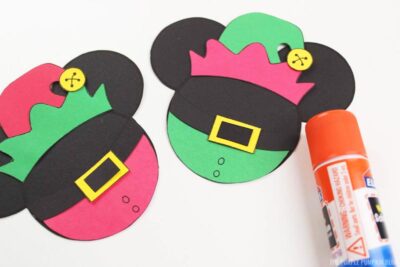
- If you are adding glitter, apply white school glue carefully to the buckle first and cover it with yellow glitter Shake off excess and leave to dry. Then repeat on the belt and the buttons using black glitter.
- Finally, form a hanging loop with a piece of string or ribbon and stick it to the back of the ornament. To hide your workings at the back you could add another large circle of black paper to cover.
- If you want, you can laminate the ornament so that it lasts longer. Before attaching the loop, run it through a laminator and cut away the excess. Make sure you leave a slight edge as you cut it out so that the laminating sheets don't fall away!
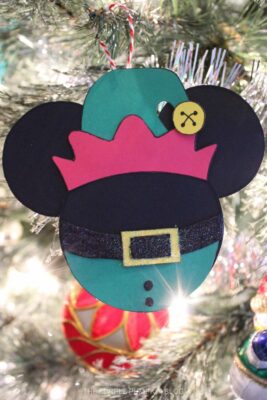
- Hang your Mickey Mouse elf ornament on your Christmas tree!
Video
Did you make this project? Share it!Tag @_ThePurplePumpkinBlog on Instagram with the hashtag #TPPBCreate!