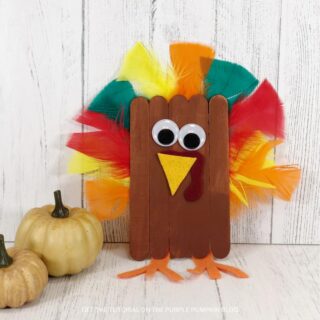
Craft Stick Turkey Craft
Using simple craft supplies, create this quick and easy Craft Stick Turkey with the kiddos in just 30 minutes.
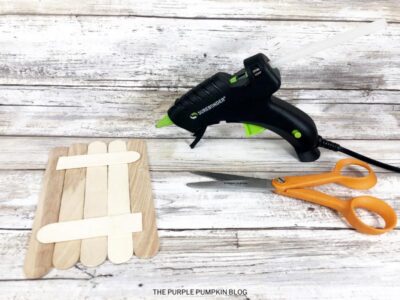
Materials
- Jumbo Craft Sticks
- Craft Feathers
- Googly Eyes
- Brown Acrylic Craft Paint
- Craft Felt – Orange Yellow, Red
TOOLS
- Black Marker
- Low Temp Glue Gun and Glue Sticks or
- White/PVA school glue
Instructions
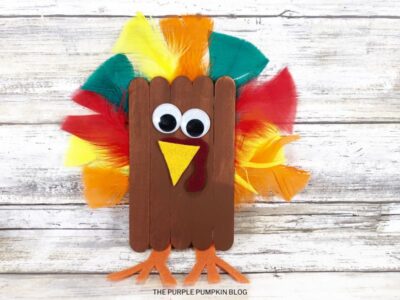
- To create a turkey, line up five jumbo craft sticks on your work surface. Using scissors, trim additional jumbo craft sticks to the width of the turkey and attach them with a glue gun or school glue. Leave to dry completely.
Paint front and sides of turkey with brown acrylic craft paint. Set aside to dry and apply a second coat, if necessary.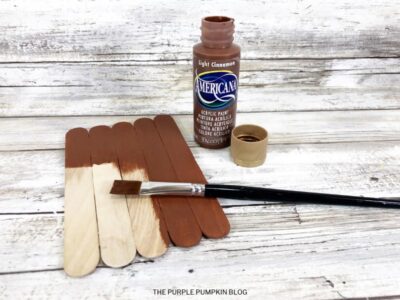
Cut a triangle beak from yellow craft felt. Cut a wiggly waddle shape from red craft felt. Cut two turkey feet from orange craft felt. Attach all features, including two wiggle eyes to the turkey with a glue gun or school glue. Leave to dry completely.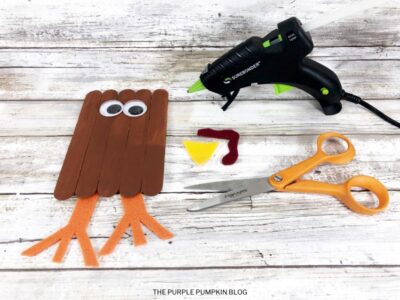
Select eight to ten craft feathers in assorted colors and place them around the turkey on your work surface. Mix and match colors to create a fun pattern.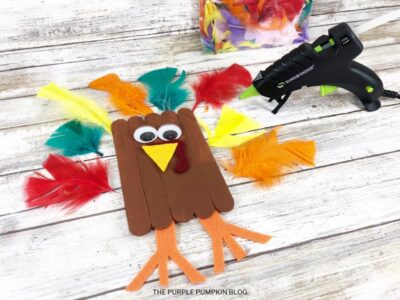
Flip the turkey over and attach the craft feathers to the back of the turkey with a glue gun or school glue. Leave to dry completely.

Notes
TIP: As soon as you open a package of craft feathers, place them in a zip top sandwich bag. Then pick feathers out, one at a time, so the feather fluff doesn’t get all over your work surface.
Did you make this project? Share it!Tag @_ThePurplePumpkinBlog on Instagram with the hashtag #TPPBCreate!