My Walt Disney World Tips – Disney Theme Parks
Home » Everything Disney » Walt Disney World »
In part three of My Walt Disney (& Orlando!) Tips series I’m talking theme parks! I starting writing a post about Magic Kingdom (and was going to follow suit with the other theme parks) and then realised that a lot of the tips would cover all the Disney theme parks, that they would get a post to them self :)
Tip #1 – get your comfort on
Read up on my comfort tips, your feet especially are going to thank you for that! According to Google, Magic Kingdom is 107 acres, Animal Kingdom is 500 acres, Epcot is 300 acres, and Hollywood Studios is 135 acres…that’s a LOT of walking you’re going to be doing each day you visit a theme park!
Tip #2 – have a plan
Why not read all of my planning tips for a refresh! The important one for us as a family, is each of us having one (or two) rides/attractions that we must do/see and make a beeline for them first. That way, even if we don’t do a single other ride, we’ve done the thing we want to the most!
Tip #3 – don’t get lost
Before you even step foot into a theme park, have a plan of action should anyone get split up or lost from the group. We set a point in the park where we would go to if we did, get split up. Wherever it was, in whichever park, we pointed it out to our (then, 12 year old) son so he was clear as to where he needed to go.
Tip #4 – get there early
If you are spending the whole day at Walt Disney World, get there early! The reason I say get there early is so that you can be at the gates for what is called ‘Rope Drop’ and the official opening of the park. I have read that the gates can open up to 45 minutes early! And speak of getting there early – if you plan to stay into the evening, please if you have smaller children, let them have an afternoon nap! It was upsetting to see so many cranky kids getting hauled around by their parents – and all because they were tired – at the theme parks last time. A few hours break, can extend the day without tears.
Tip #5 – take a photo of your parking lot
This tip is only going to apply if you drive to and park at any of the Disney parks – it is currently $18 per day, but you can park at the other Disney parks in the same day for free if you have paid once. When you are all parked up, take a photograph of your space/row number as well as the name of the lot you’ve parked in (or at the very least, make a note of it somewhere!) After a long and exciting day at Disney, you will have forgotten! Believe me, we forgot one time to do this at Epcot and I had to press the car key fob to make the car flash to indicate which car was ours! (I am also aware of using the word “park” quite a lot in that tip!!)
Tip #6 – don’t run for a tram
The car parks are huge and unless you are lucky enough to be parked close the entrance, it’s a fair old walk to those front gates! Disney have trams that run from the ends of the rows to the entrance – if you miss one, don’t worry, another one won’t be too far behind! Keep your arms and legs inside the tram!
Tip #7 – be ready for bag inspection
Now that you are at the front gates, it’s time to go through and into the park! If you have a bag with you, get it ready for inspection by unzipping it. This will save precious seconds as the security check it! Also, have your ticket to hand – let each member of your party hold their ticket (unless they’re very young of course) so that you minimize the time going through the gate. You are fingerprinted as you go through. Tell the kids (and the adults!) to be ready to put their finger on the plate to be scanned. As long as everyone is prepared for the “procedure” it should be plain sailing through..anything to not waste time! Once through to the other side, move out of the way (you don’t want to hold up other people going through!) and collect everyone’s tickets and keep them safe in a wallet or lanyard.
Tip #8 – grab a map
Once inside the park, your first port of call is to grab a map. You can pick one (or a couple, one will invariably go missing!) from Guest Relations, which are found towards the front of the parks. It is also good to take a look at a map online (I get mine from the Dibb) to familiarise yourself with the ride/attraction locations before you go.
Tip #9 – celebrate with a badge
If you are celebrating something – a birthday, an anniversary, or even your first visit, don’t forget to ask for a badge at Guest Relations! We celebrated not only our first visit to WDW, but also our 2nd wedding anniversary at Walt Disney World, and proudly wore our badges all day long! It was lovely to have Cast Members wish us well as we walked through the park and lined up for rides. You can do this at all the theme parks, just find guest services and ask :)
Tip #10 – make use of FastPass+
A full run down of what they are and how they work can be found on Disney’s website. I will be writing a full post about FastPass+ very soon – since writing this post in 2013, the legacy FastPass system that I included here is no longer valid!
Tip #11 – Advance Dining Reservations
I’ve mentioned before about Advance Dining Reservations, and if you plan on eating at one of the more popular restaurants at the theme parks, I recommend booking an ADR for it. The last thing you want to be doing is hanging around waiting for hours for a table! You can make your reservations online at Disney’s website. Bare in mind that it will feel like everyone is going for food at the same time, so why not try and go for a late/breakfast early lunch or a late lunch/early dinner to avoid too much of a frenzy! That is if you don’t have an ADR booked and go for counter service instead.
Tip #12 – send merchandise to package pick up
When it comes to shopping for gifts/souvenirs to take home, you can arrange for your purchases to be sent to the Package Pick Up, which is near the front gate. It saves you having to lug it around all day long! Or of course, save shopping for the thing you do on the way out of the parks. If you are staying on-site you can have your stuff sent to your room.
Tip #13 – make use of Disney Photographers
We didn’t think we’d make much use of the (formerly) Disney PhotoPass service on our first trip – how wrong we were! We loved meeting the characters, and it was great to have photos of us together as a family! It is now called Memory Maker and you can purchase this in advance, or after your holiday (which is what we did the first time, but it is cheaper to buy in advance.) All around the Disney parks and resorts are Disney Photographers, they take photographs for you which get put onto a card – you then had that card to a photographer each time you have a picture taken so that it stores them for you. Or, if you have Magic Bands, they go straight onto that – including your ride photos! You can then view all of your photos online and even add frames and effects to them which is pretty cool. You can read all about how it works in more detail on the Disney website
I should point out that it is free to have your photo taken by a Disney Photographer – they’ll offer you a card if you don’t have one…you just pay for the photos if you want them :)
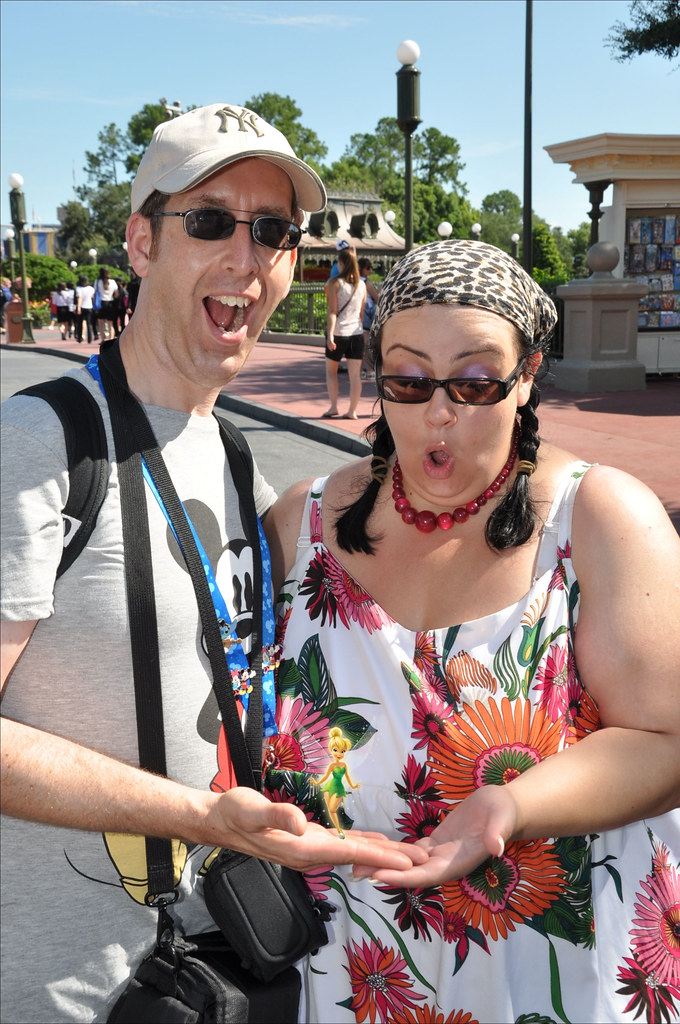
You can also ask the photographers to take magic shots where they digitally place in a character. We had one done with Tinkerbell!
Tip #14 – take it all in
There is so much going on at Disney – take it all in – the sights, the sounds, the smells! Look out for Hidden Mickeys, meet the characters, watch the parades, eat the treats…be a kid again!! Take in the small details – I love taking photos of things that people probably wouldn’t look twice at – but it makes for a more interesting set of photographic memories! (at least, it does for me!)
Tip #15 – don’t forget to…
ENJOY YOURSELF!! You’ve worked hard for this holiday!
I hope you’ve found these tips helpful – I’ve probably forgotten a load of things…!