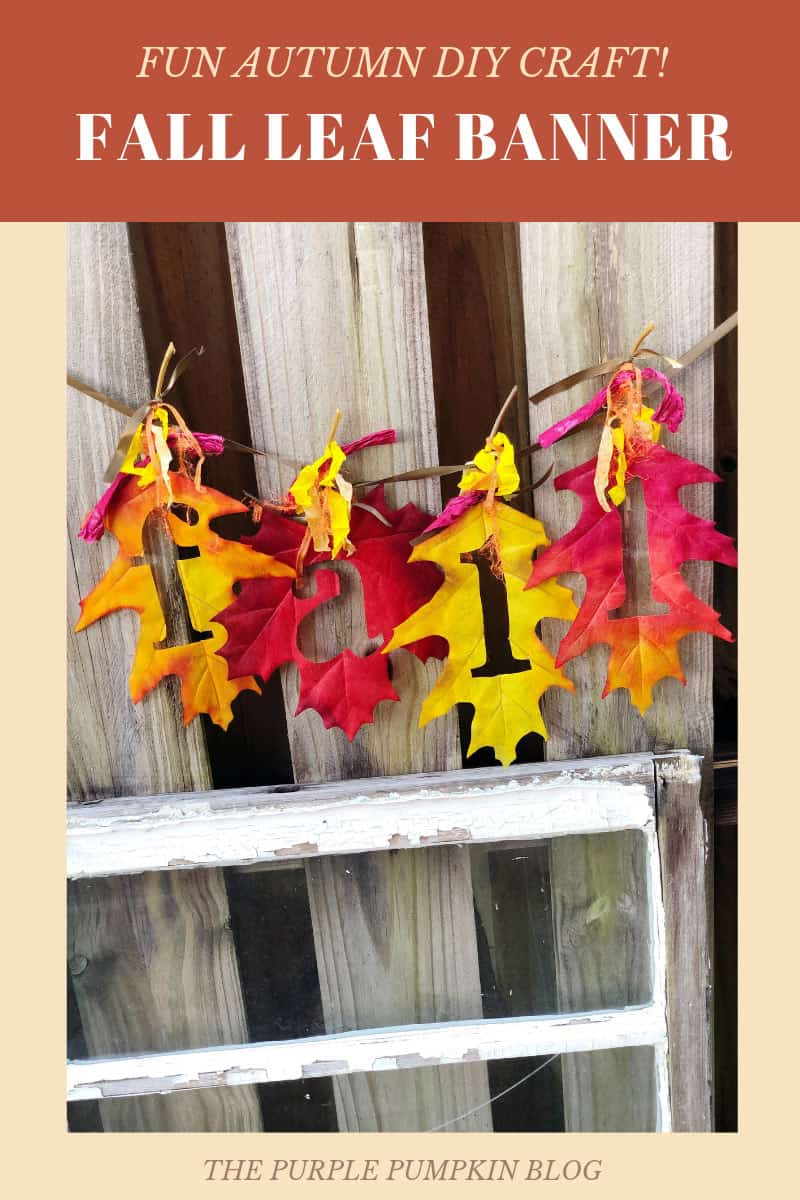
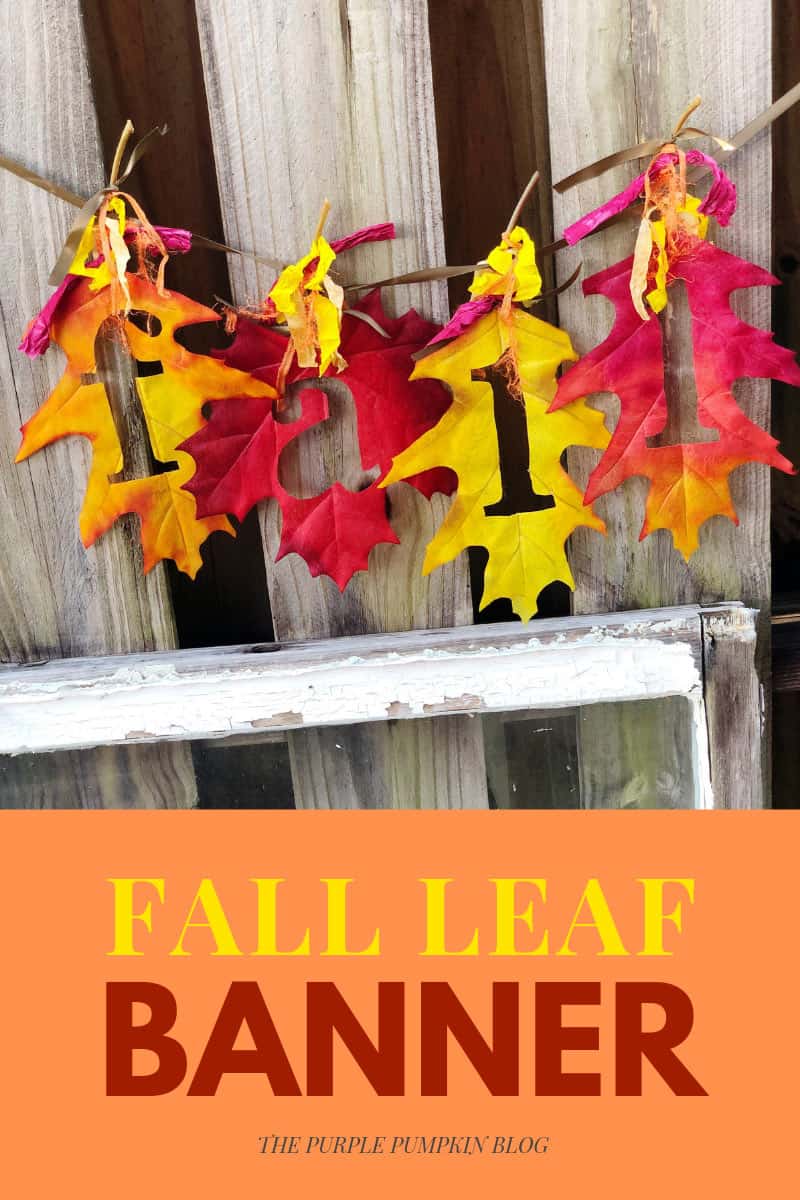
Fall Leaf Banner – A Quick & Easy Autumn Craft
Home » CREATE » Crafts » Autumn/Fall Crafts »Upcycle extra-large faux autumn leaves into a fun and trendy Fall Leaf Banner to welcome the cooler weather! For a craft project that is quick and easy (just 15 minutes) you won’t believe how festive and pretty it is. You need just a handful of supplies – most of which you probably already have in your craft stash.
I have got more Autumn Crafts for Adults that you might like to try out. Why not right click and open these other crafts in a new tab so that you can read them after this one!

Affiliate Disclosure
We have included affiliate links to products and services related to the topic of this post.
This post contains affiliate links, and we will be compensated if you purchase after clicking on those links.
As an Amazon Associate, I earn from qualifying purchases.
Read Our Full Disclosure and Privacy Policy
Fall Leaf Banner
Autumn has always been my favourite season – maybe because I was born in September! I love everything about fall, but one of my very favourite things is the changing of the leaves from shades of green to rusty hues of reds, golds, and browns. For new life to begin in spring, the leaves must fall and dance in the wind in autumn.
To celebrate the new season, and bring some autumn cheer to your home, why not make this gorgeous fall leaf banner? It is so easy, and doesn’t take very long at all. You need a little patience as you cut out the letters on the faux leaves, but the end result is worth it don’t you think?
I’ve shared lots of great craft ideas on The Purple Pumpkin Blog over the years, in fact, there are 100+ crafts to make and do at home that you can try.
Materials & Tools Needed
- Faux autumn leaves – the ones shown are around 9″ x 6″/23 cm x 15cm. If you can’t find any that big then just use the biggest ones you can find. (Try the Dollar Store or Poundshops as it’s the sort of thing they’d sell!)
- Ribbons – assorted colors and styles. You will need one that is about 36″/92cm long to create the banner itself, and the scrap pieces of ribbon are used to decorate with.
- Fine tip marker – like a Sharpie Ultra-Fine
- Scissors – make sure they are good and sharp
- Craft Knife
- Self-Healing Cutting Mat (or piece of cardboard)
- Printable fall letters template (download opens in new window/tab)

How to Make a Fall Leaf Banner
Full detailed instructions are in the printable tutorial at the end of this post, but I want to share the step-by-step photos with you first.
There is also the autumn banner slideshow video over on my YouTube Channel that you can save to your Playlists for future reference. (Don’t forget to subscribe while you are there!)
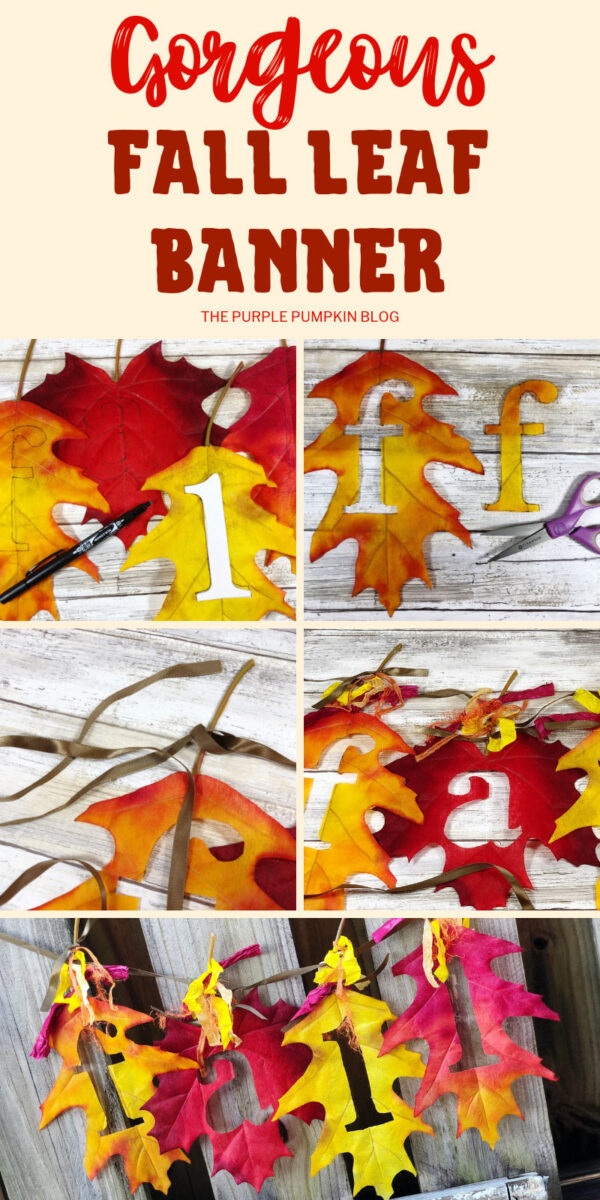
Start by printing the letter template and cut each letter out. You can adjust the size of the letters in your print settings depending on the size of your leaves.
Trace around each letter with the fine tip marker pen, and then using a craft knife, carefully cut the letters out. You can always go in with sharp tip scissors to get the finer details done. Also worth noting that the middle bit of the letter a won’t need to be cut out!


Once you cut all the letters out (I’m sure the super crafty among you will be able to use the cut out pieces in another autumn project!) it is time to string the banner together.
This is a simple as tying each leaf stem to a long piece of ribbon with a double knot. Make sure you leave extra on either end so that you can hang/tie your banner up when complete.
Just one final thing, and that is to grab some scraps of ribbon – any sort of size, style, colour, or pattern will do, and tie those to each stem too. And that is it! You can now hang up your fall banner with pride!


More Autumn Leaf Crafts
Once you’ve made this pretty autumnal banner, why not try some other crafts using autumn leaves? Here are some for you to take a look at:


Easy Fall Leaf Banner
Materials
- 4 faux autumn leaves - assorted colors (the ones shown are 9"x6"/23cmx15cm)
- 1 (36"/92cm) piece of ribbon - brown
- Scrap Ribbons – assorted colours and styles
Tools
- Permanent Marker – fine tip
- Scissors
- Craft Knife
- Self-Healing Mat (or piece of cardboard)
Instructions
- Download the free printable fall letters template (opens in new window/tab).
- Print and cut out each letter with scissors.
- Carefully trace each letter onto each leaf with fine point marker. (Remembering that the center of the lower case “a” will not need to be cut out.)
- To cut out each letter, start with a craft knife, then finish up with a pair of small detail scissors. Use the very tip of the scissors to cut out the curves and take your time.
- Cut one 36”/92cm length of ribbon and starting in the center, tie each leaf stem to the ribbon with a double knot.Tie 4-6 assorted ribbon scraps of varying colors to the stem of each leaf.
- Tie 4-6 assorted ribbon scraps of varying colors to the stem of each leaf.
- Hang on a mantel, banister or door to celebrate fall!

Notes
The pattern can be scaled on your computer in the print controls to fit any size faux fall leaves.


