Build-A-Skeleton | Free Printable + Instructions #CraftyOctober
Home » CREATE » Crafts »Welcome to Day 12 of Crafty October 2014 (check out 2013 and 2012 here) – a month of Halloween Ideas here on The Purple Pumpkin Blog!
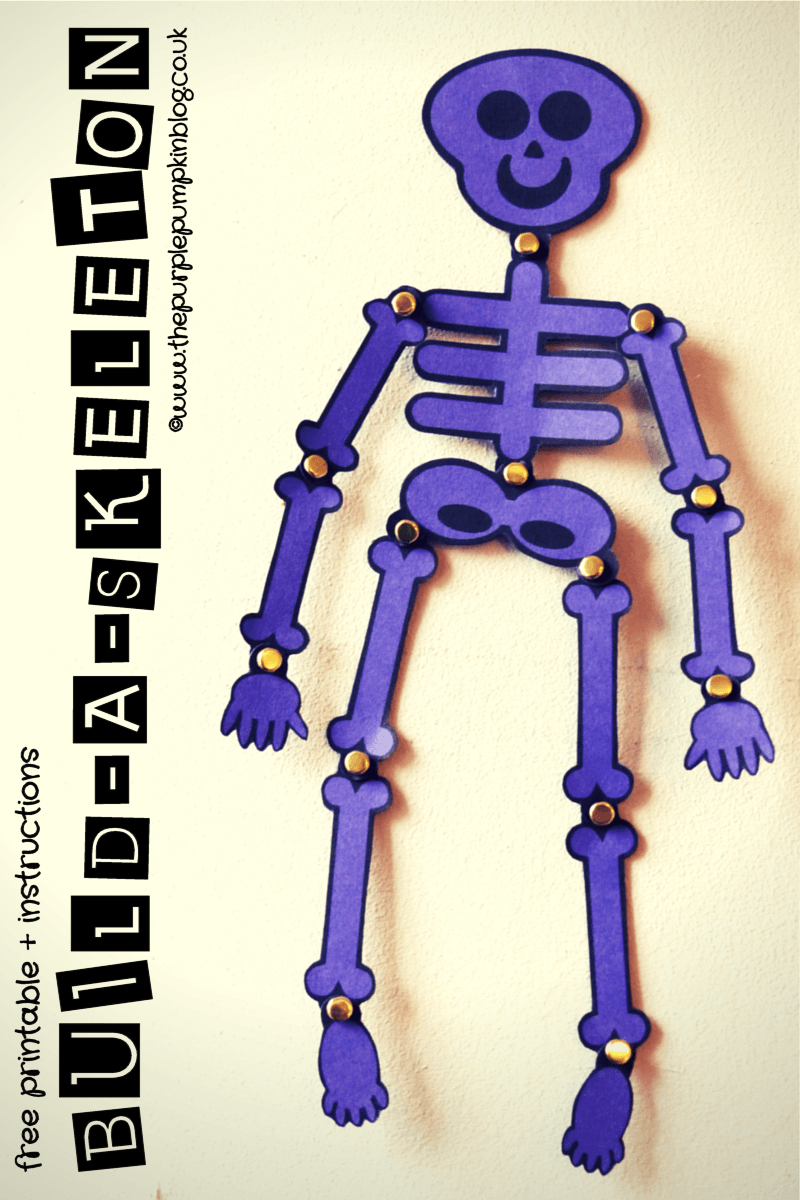
I’ve got a lovely craft project for you today – Build-A-Skeleton using the cardboard bones template and paper fasteners! A great DIY decoration for the kids to make!
Just click on the image below to download the free printable and instructions.

The Build-A-Skeleton is a really easy to do craft, you will need…
- A4 card in your chosen colour(s)
- scissors
- darning needle or something with a sharp point
- paper fasteners/split pins (x14)
- cotton thread to hang up, or sticky tack if preferred
I love how the skeleton decoration came together – I’ve called mine Bonesy Malone and he’s hanging above my desk!
This post contains Amazon Affiliate links. If you clicked the link then made a purchase, a small percentage of the sale price would be paid to this me. It doesn’t cost you anything more but it helps keep the lights on over here!

This is how you assemble the Build-A-Skeleton…
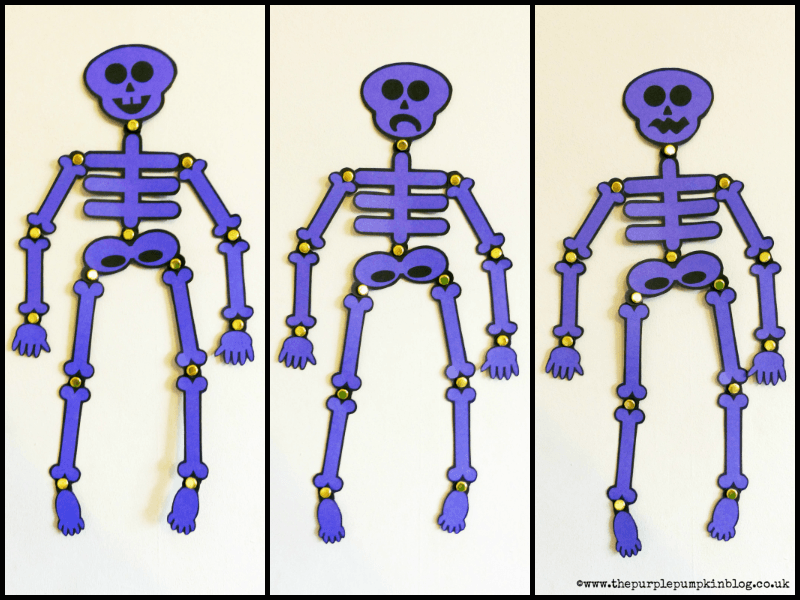
- For best results, use cardboard to print the template onto. The choice of colour is yours – you don’t have to stick with white! Why not make a rainbow of them?!
- Print the template onto the card and cut each of the pieces out. Younger children may need a little help with this part.
- Using a darning needle (or something with a sharp point), pierce a little hole in the center of each of the black circles at the end of each bone. Try the old Blue Peter trick of having a blob of plasticine underneath to protect your table! (Do not pierce the circles that are the eyes, or form the pelvic bone)
- Working out which bone goes where (you can see by the photo on this blog post) attach them together using a paper fastener, splitting it at the back to secure into place.
- Thread some cotton through the hole at the top of the skull to hang up. If you wish, you can cut off this circle and attach to the wall using sticky tack, which is what I did with mine.
I look forward to seeing your Build-a-Skeletons – please do share them with me!
As well as sharing my ideas each day for my favourite time of the year, I’m also holding a #CraftyOctober Link Party for bloggers to share their Halloween posts. If you’re a blogger, then do check out the party – I can’t wait to see your posts!
Printables created by The Purple Pumpkin Blog are for personal use only and not for resale. If you wish to link to, pin or share my printables, you are welcome to do so as long as a link back to the blog post is shown and the watermarks are kept intact. Colours may vary slightly on printing due to different screen and printer settings. If you use any of my printables it would be awesome to know about it! Just leave me a comment, here on my blog, on Facebook, Twitter, Google+ or Pinterest! I hope you find them useful :)
kidGLloves
October 28, 2014 @ 8:21 am
Lucas says – I LOVE skeletons. I’m going to be part skeleton, part Werewolf, part Zombie for my Halloween costume this year. Awesome post and thanks for linking up to #minicreations
Sara (@mumturnedmom)
October 22, 2014 @ 10:53 pm
This is great! Have pinned :) #MiniCreations