Halloween Sugarpaste Models
Home » CREATE » Crafts » Halloween Crafts »Welcome to Day 18 of Crafty October – a month of Halloween ideas at The Purple Pumpkin Blog! Don’t forget to check out last year’s ideas if you need more inspiration.
I spent today with a friend and fellow blogger, Sam from Dreaming Of…, we met after attending BritMums Live back in the summer, and have become great friends! We both love Halloween, and thought it would be fun to do something for it together. I brought round some coloured sugarpaste and we got to work making Halloween Sugarpaste Models!
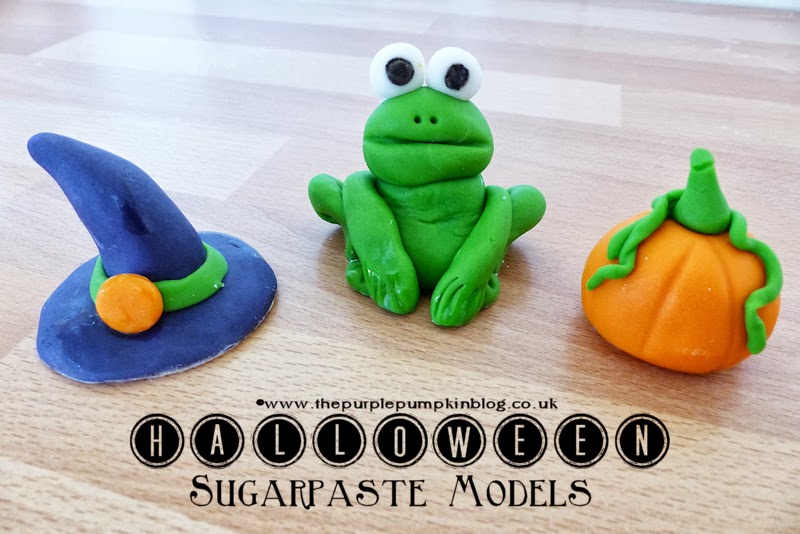
We made witches hats, frogs and pumpkins. We had planned on making ghosts, spiders and cats too, but after chinwagging so much we didn’t get around to making those too! Also, through our catch up day, I wasn’t so thorough in taking step-by-step photography as we were making our models, so I’m going to have to describe how we made each one!
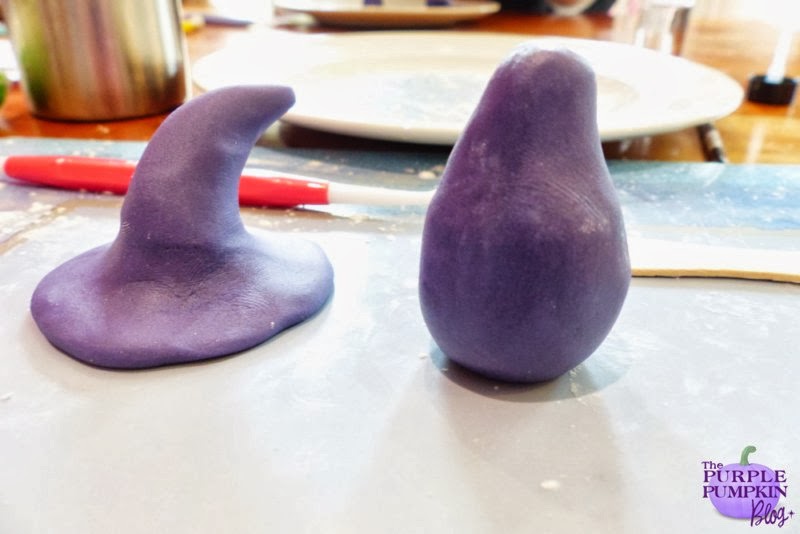
Up first, the witches hat, which I did take a few progress photos of! I bought ready-coloured sugarpaste (fondant) but you can easily colour white or ivory sugarpaste to your desired colour. When doing this, add a small amount of colour first – you can always build up a colour,but you can’t take it away!
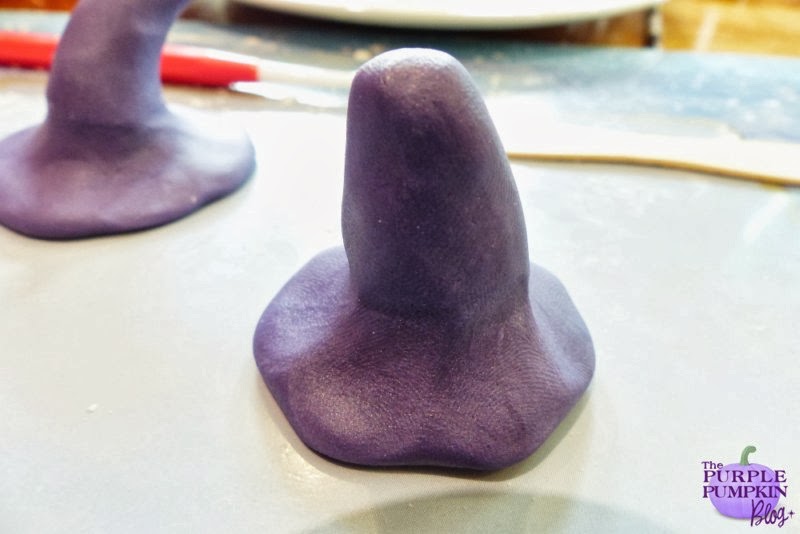
Roll some sugarpaste into a ball, about 1½” – 2″ in size, then begin to mould into a pear shape. You’ll be making the hat and rim from one piece of sugarpaste. From the wider bottom end of the pear, start to pull out and push down to form a rim, whilst shaping the top end into a pointy cone. There is no right or wrong way to do this, just keep shaping until you are happy with the way your hat looks.
To stop the sugarpaste from sticking to your hands, use a little cornflour. This will transfer to the sugarpaste, but it is easily brushed off with a small clean paintbrush.
It is at this point I’ve not taken any more progress photos >_< so try and go by my photographs and descriptions!
You can decorate your witches had any way you want to. I rolled out some green sugarpaste into a thin sausage shape and then flattened slightly and wrapped it around to create a band, and then I flattened a tiny ball into a disc to put on the front of the band. I attached these with a drop of water.
To make the pumpkin, roll a piece of orange sugarpaste, and press it down gently to flatten the bottom end. Using a small ball tool (or the end of a paintbrush, make a hole in the top so that you can insert the stalk later on. Using the length of a toothpick, emboss the pumpkin ridges around the sides of the pumpkin. Finish off with a green stalk, leaves and/or tendrils.
Finally the frog, which might look tricky to make, but it’s all about constructing the parts and fixing them together.
You will need to make a fat, dumpy sausage shape for the body, a small ball for head, two small discs for the feet, two thin sausages, folded over for the legs, two thin sausages flattened ends for the arms, and two small white balls for the eyes.
Emboss the feet and hands with a toothpick, and press the toothpick across the head shape to form a mouth, two dots above the mouth line for nostrils.
Then, using water applied with a paintbrush, assemble all the pieces – put the feet on the bottom and add the body on top so that they just poke out. Add the legs and bend out then the arms over the legs. Make a bit of a dip in the body so that the head can sit in a little bit. Finally, add the eyes and paint on the pupils with a food colour pen or paint on with food colour. You could also roll tiny balls of black fondant and stick them on.
Ideally, you want to leave your models to dry for a few days before using them to decorate cakes, and you can brush off excess cornflour with a clean paintbrush, or spray with vodka to remove the excess. Vodka dries faster than water. Of course, if giving these to children, you’ll have to use water!
Sam and I were both really pleased with how our models turned out – even though we did chitter chatter the whole way through meaning we lost focus on the blogging side of the project!! But I’m sharing them for today’s Crafty October, and hope you pop over to Dreaming Of… to see Sam’s models!
I am hosting a month long Halloween Link Party to celebrate Crafty October and would love for you to share your Halloween ideas – crafts, recipes, costumes, parties…anything goes, as long as it is family friendly! It’s my favourite time of year, (as you may well know!) and I can’t wait to see what you link up!


