Hand Painted Crockery
Home » CREATE » Crafts »Did you read yesterday’s Sunday Inspiration post? It was all about ideas to celebrate the Queen’s Diamond Jubilee which is now 3 weekends away…I gave a little sneak peak of the hand painted crockery I have been making…and now it’s time for me to tell you all how I did it!
.JPG)
I made them because I was shocked at the astronomical amount that was being charged for jubilee themed crockery in the shops. I shouldn’t have been shocked, any event will have over inflated prices for themed stuff.
I went out and bought some inexpensive plain white china…a few plates, a couple of bowls, a tea pot, some milk jugs and three cute lidded jars, (I also bought more because I liked the shape of them *^_^* will use them for another project at some point!) I spent £17 in total on 11 pieces of crockery.

I then went and bought some porcelain paint from Hobbycraft at £3.99 a pot. A little does go a long way, and I’ve got enough to do this project over about 4 times! I also, for some really strange reason, bought white paint…the crockery is white, I didn’t need it >_>

So all in all this project cost me in the region of £25. Remember that ONE cup was going to cost me £25…so I think I got the deal of the century! I am more than pleased with the way everything turned out…they’re going to be great pieces of party tableware for our Diamond Jubilee Big Lunch Party – and will be able to be used again in the future.
I started with the plates, since they are flat and I figured the easiest place to start. Using the red paint first, I mapped out the red crosses on the Union Jack flag around the edges of the plate.

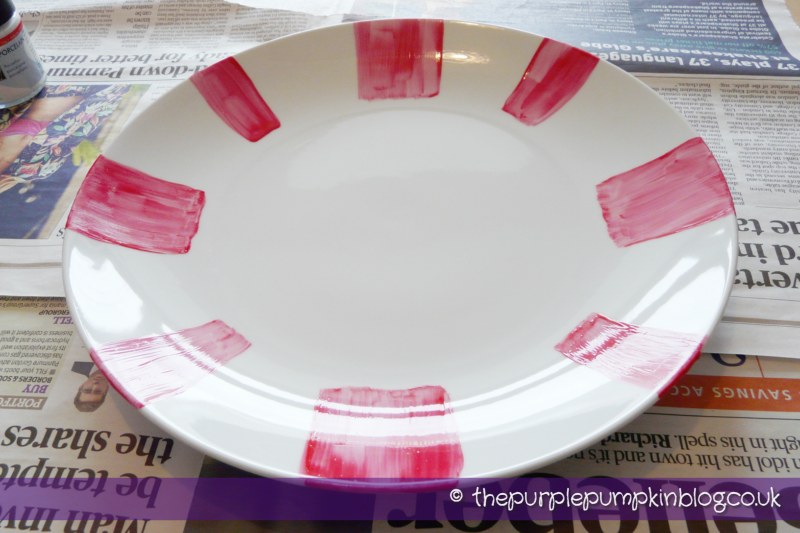
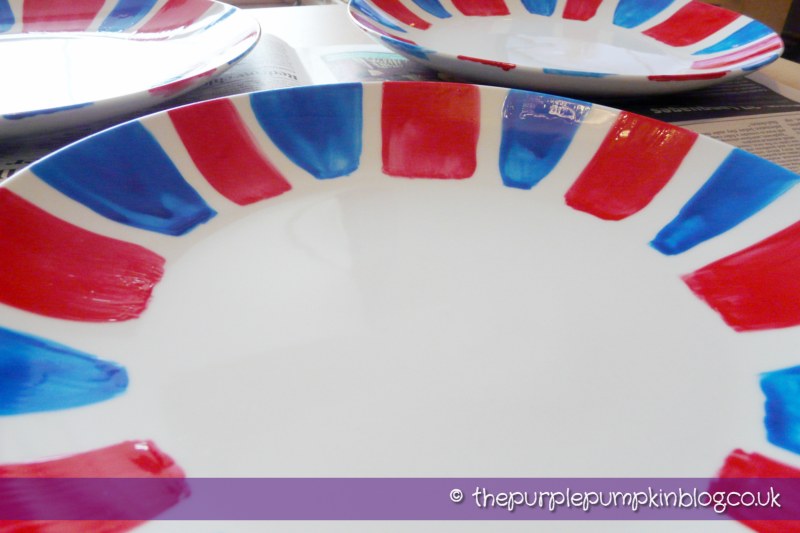
I then filled in the other parts of the flag with blue and left to dry for half an hour. The paint is touch dry after this time, and allowed me to put another layer on top.

With the plates all painted, they were left to dry completely – after 3 days they become dishwasher proof, so we’re now all good to go to use these at our Diamond Jubilee Big Lunch on the 3rd June.

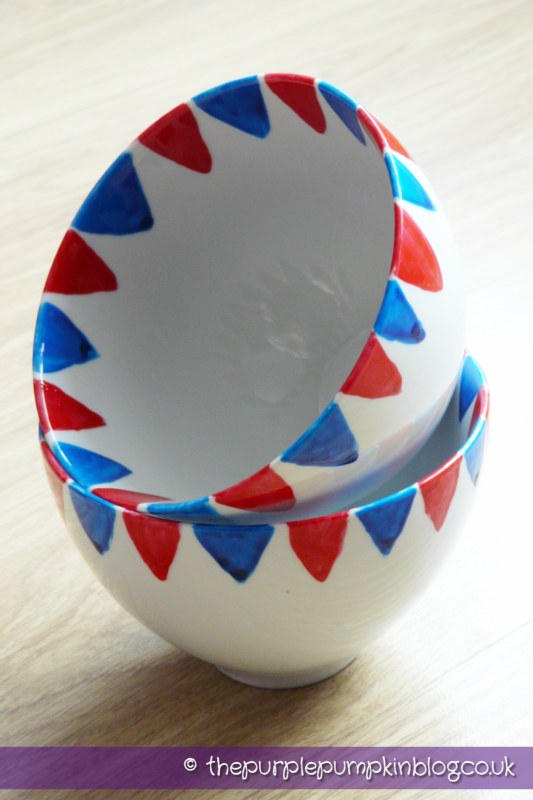
Next, I tackled the bowls. It would seem I didn’t take as many step-by-step pics here, but I’m sure you can figure it out! I painted little triangles around the inner and outer rim of the bowl. Alternating red and blue. Again, leaving to dry for half an hour before applying a second coat.

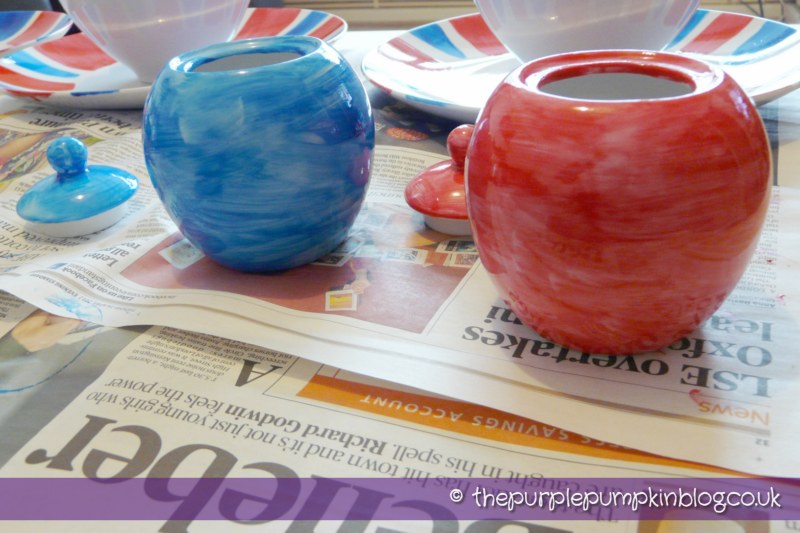
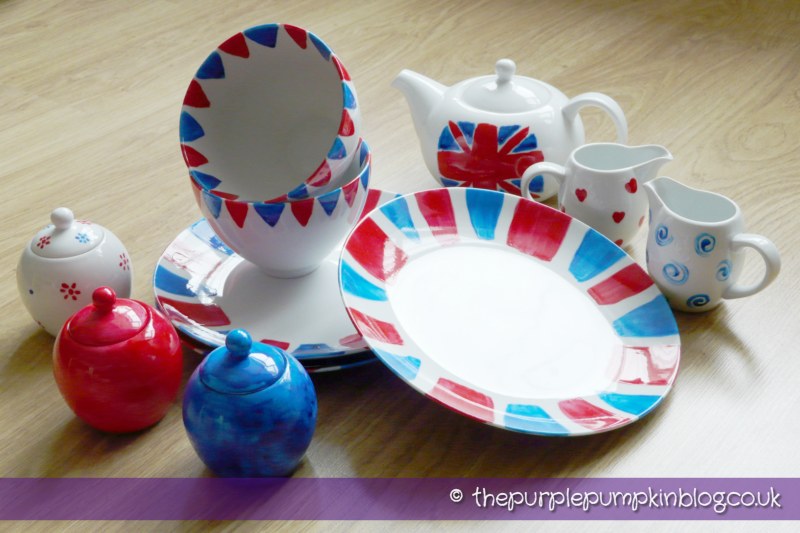
I painted one little lidded jar blue, the other one red…I may add some white decoration at a later point, but I think I quite like them plain. The final jar I painted on some flowers and dots.

I painted a Union Jack flag on either side of the teapot.

And by the time I got to the little milk jugs I was Union Jacked out, so I just painted red hearts on one and blue swirls on the other. I finished these off today…everything else was painted a week or so ago.

So with the milk jugs finally painted, my complete set of Diamond Jubilee Hand Painted Crockery is finished! Ta-da!!! I LOVE how they all look together, and can’t wait to use them on the Jubilee weekend.
I really enjoyed this project – it was relaxing and fun to do, and I’m not going to think twice about painting my own crockery for future events!