Snowflakes Balloon Display with Balloon Time
Home » CREATE »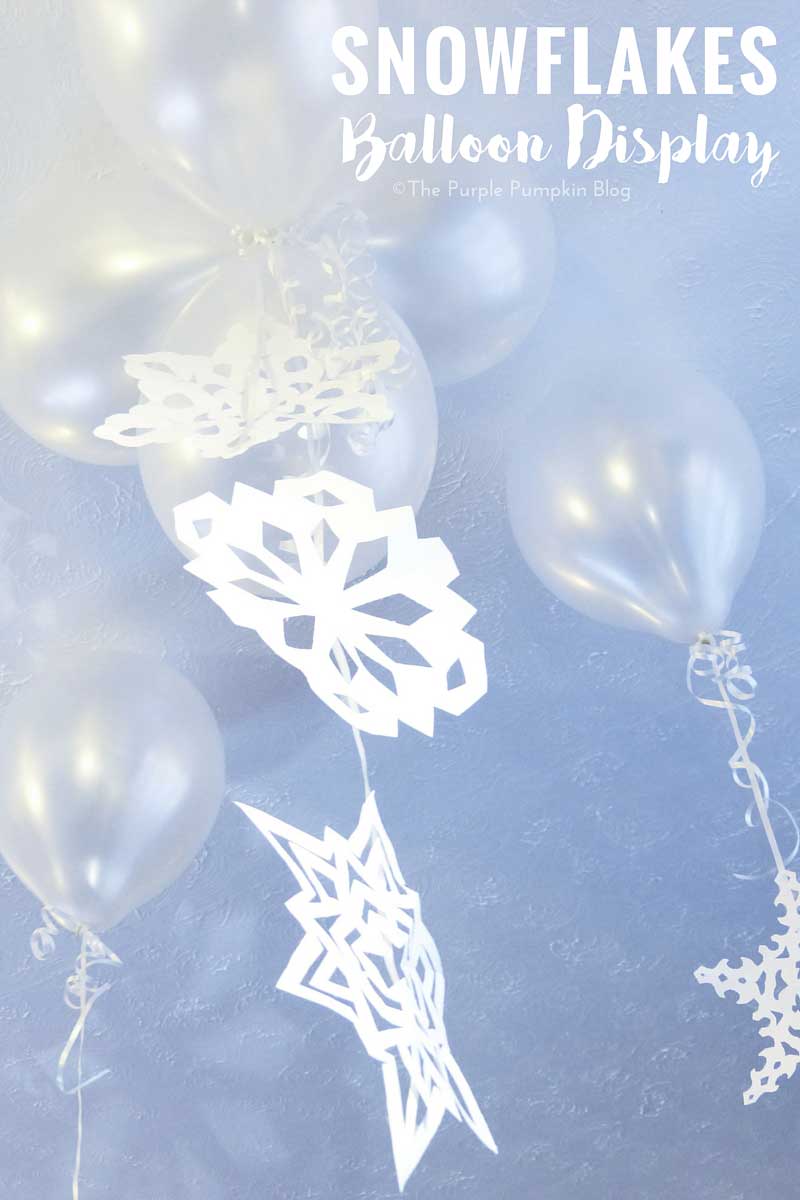

I’m very excited to announce that I’ll be working with Balloon Time over the coming months, as a Celebration Club Ambassador! I’ll be sharing my ideas for using and decorating with balloons for different seasonal events – starting, of course, with Christmas!
Now, I know we are very close to the big festive day, and you might think you’re running out of time, but my Snowflakes Balloon Display is really simple to create. With the unseasonally mild weather we’ve been having in the UK, I felt that some indoor snow clouds, made from white balloons, with a flurry of paper snowflakes was in order!
Snowflakes Balloon Display
I think a ceiling full of these balloons would be lovely to wake up to on Christmas morning, or for a winter themed party, but you do have to bear in mind that latex balloons have a shorter float life than the foil type. A 9″ balloon will float for around 5-7 hours, whereas a foil balloon can last for days (even weeks). You want to create your display as close to possible of the time it will be enjoyed – this might mean getting up before the kids so that you can get the balloons blown up; or an hour before a party starts. With those technicalities out of the way, let me show you how I made my snowflakes balloon display.
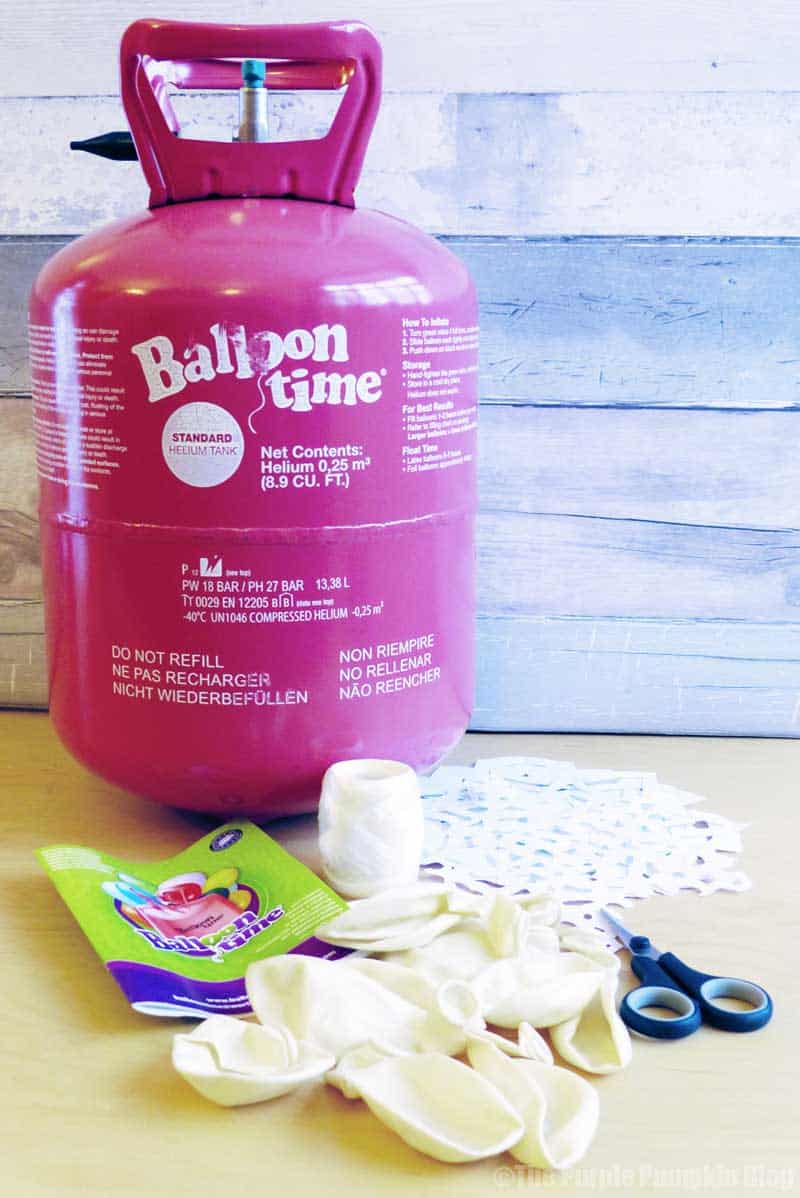
You will need…
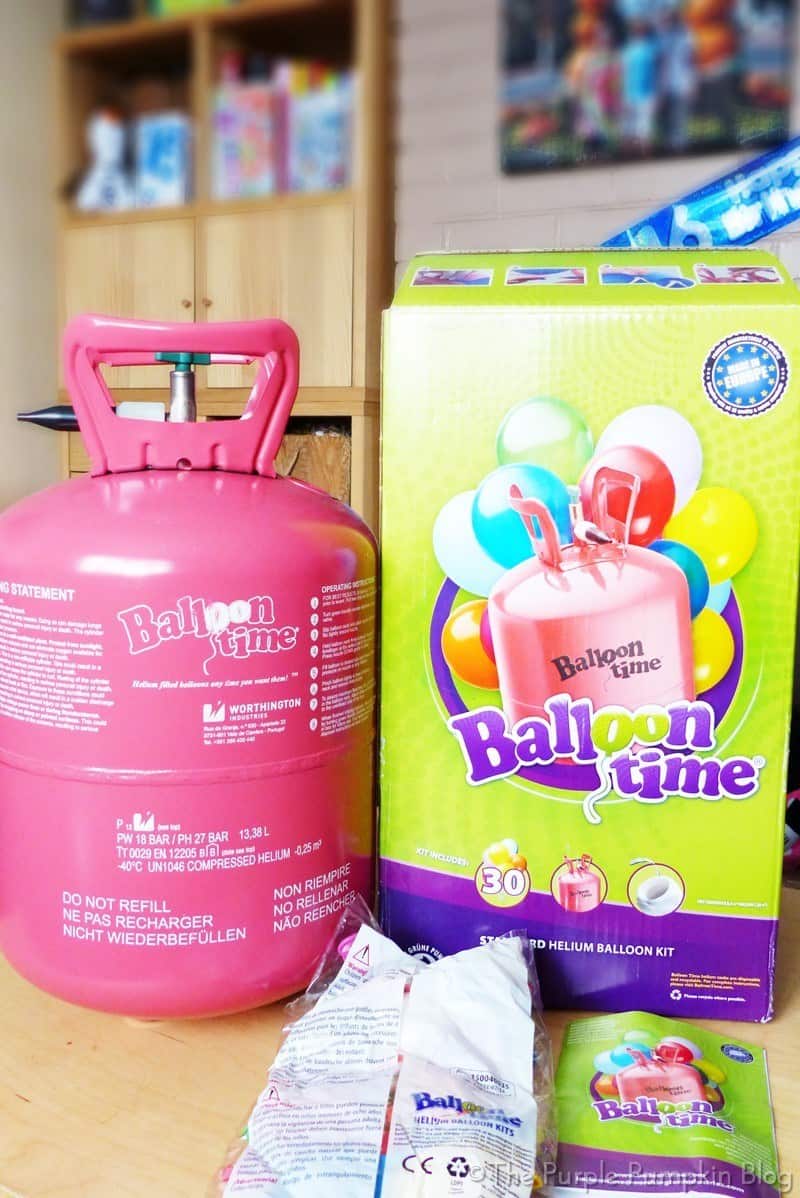
- Balloon Time helium tank
- white 9″ latex balloons
- white ribbon
- paper snowflakes (there are tons of designs online)
- scissors
- sellotape or glue dots
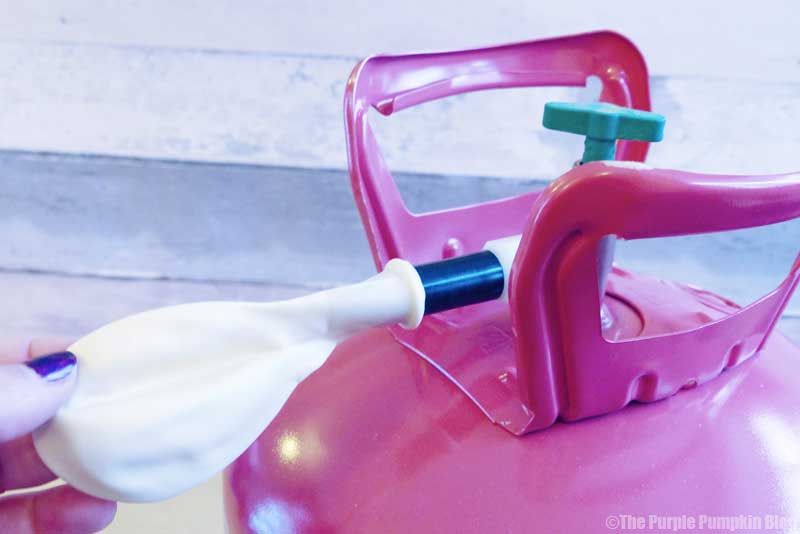
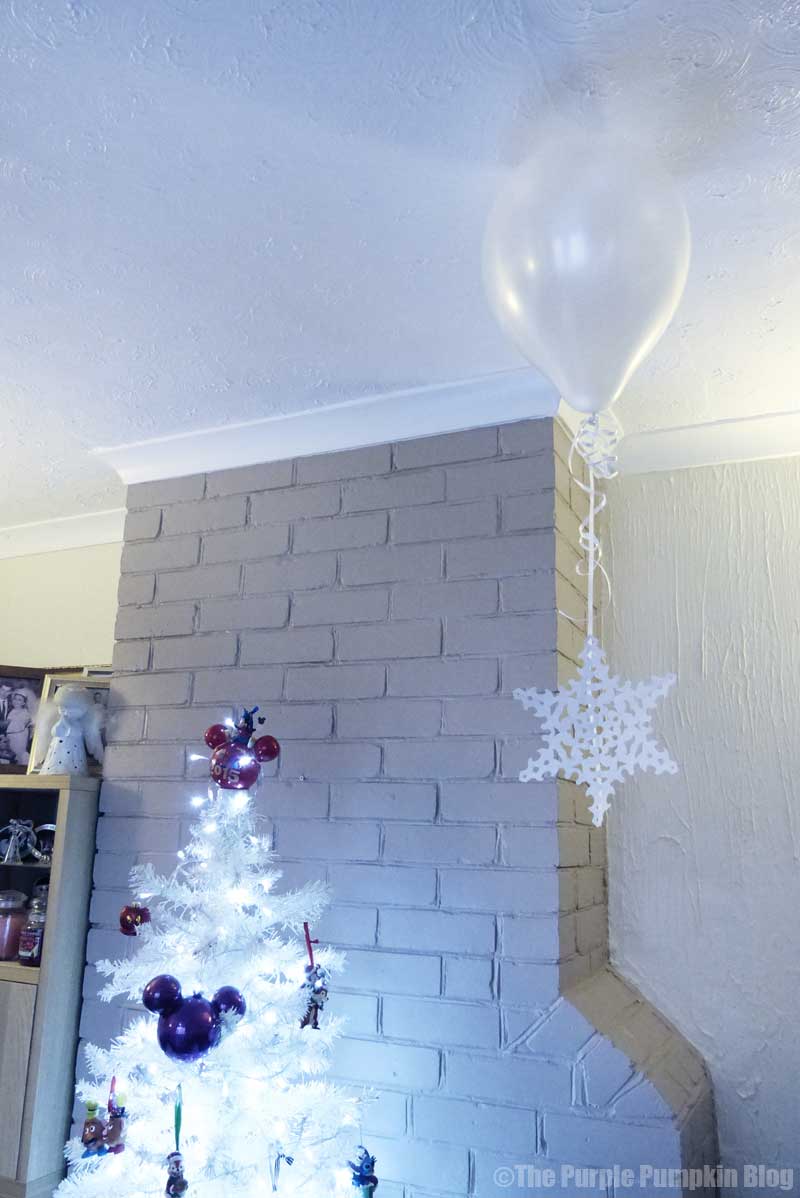
I made both single snow clouds, and clusters – the single ones are of course, the easiest option, and inflating the balloons is as easy as 1, 2, 3…
- Open the valve by turning it four times, counter-clockwise.
- Slide a balloon onto the black nozzle.
- Holding the balloon in place, push down to release the helium into the balloon. Remove and tie into a knot. Attach ribbon if required.
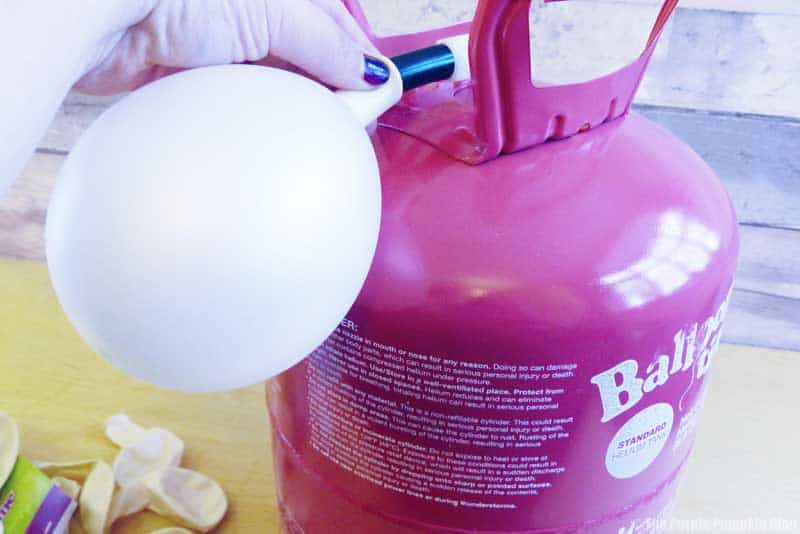
You’ll want to make the balloons as big as they can go, as they need to support the weight of the paper snowflake that will be attached. Learn from my previous mistakes, where I blew up a bunch of too small balloons for my son’s 16th birthday party, to attach photographs to, and they all slowly dropped to the floor!
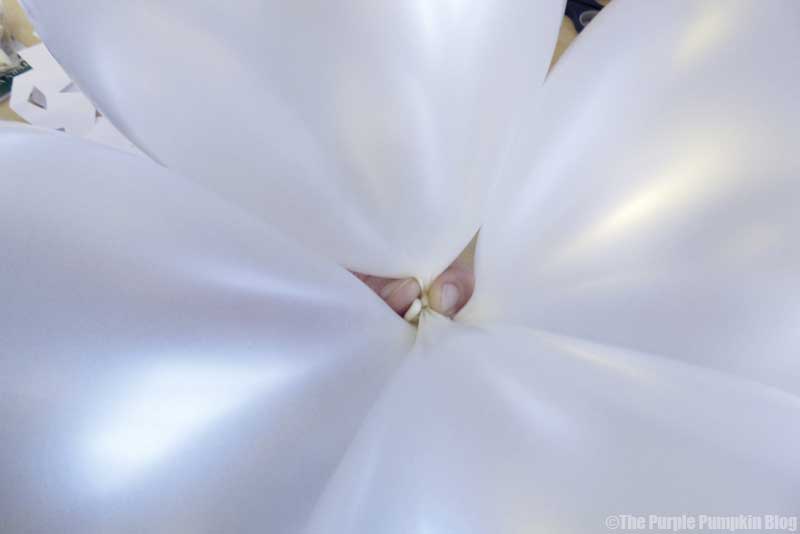
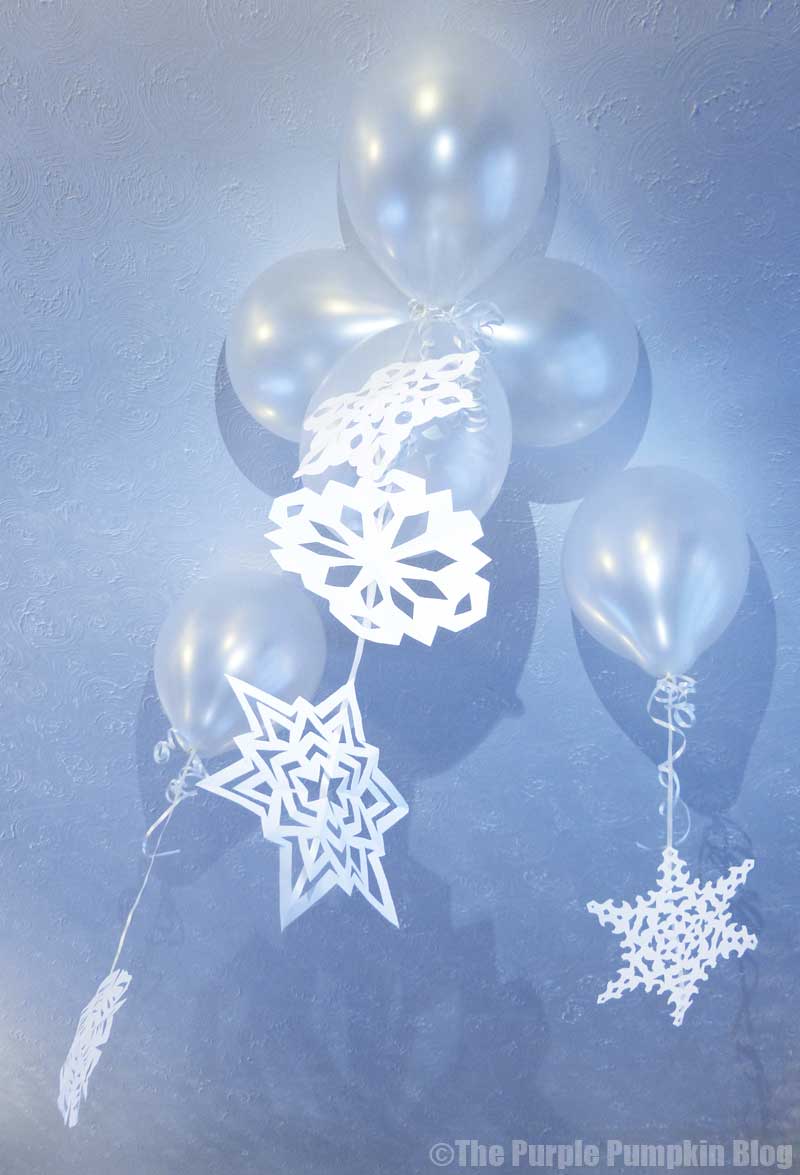
To make a balloon cluster, you might need someone to give you a hand. Blow up a balloon, but don’t tie it off. Hold it securely – or give it to your helper to hold. Blow up another balloon, now knot the ends of both of these balloons together. Do this again so you have two sets of two balloons. Sit one set across the other, and use ribbon to tie them together. There may well be a techy-balloony type way to do this, but I don’t know what it is…yet!
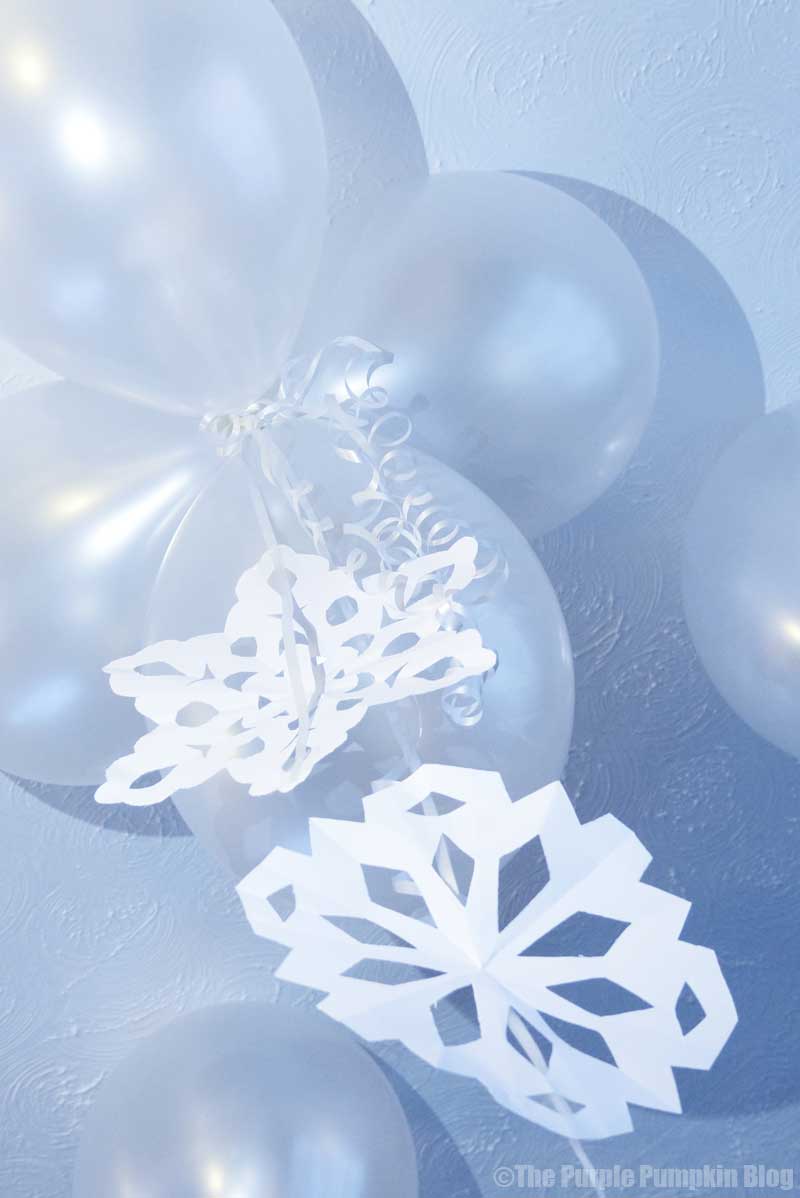
I can’t tell you how long to cut the ribbon – it depends how high your ceilings are, and how far you want your snowflakes to dangle down really! You could do the same length on all of them, or variable lengths. For the balloon clusters, I used three different lengths of ribbon. Attach the paper snowflakes to the ribbon with a bit of sellotape, and add extra ribbon, if you like, to create curls with a pair of scissors. If you are planning on doing this for Christmas morning, you could get a head start by attaching the paper snowflakes to lengths of ribbon, so they are ready to tie onto the inflated balloons
And that is it – it really is simple!
I’ve also got lots more Christmas Crafts for Adults for you to try out. Right-click and open a new tab to read next.
Here are some of my other balloon decorating ideas:
- Owl balloons
- 40th birthday photo balloons
- Pink & black balloon clusters
- 40th birthday balloons
- Nintendo Boo Balloons
- 16th birthday photo balloons
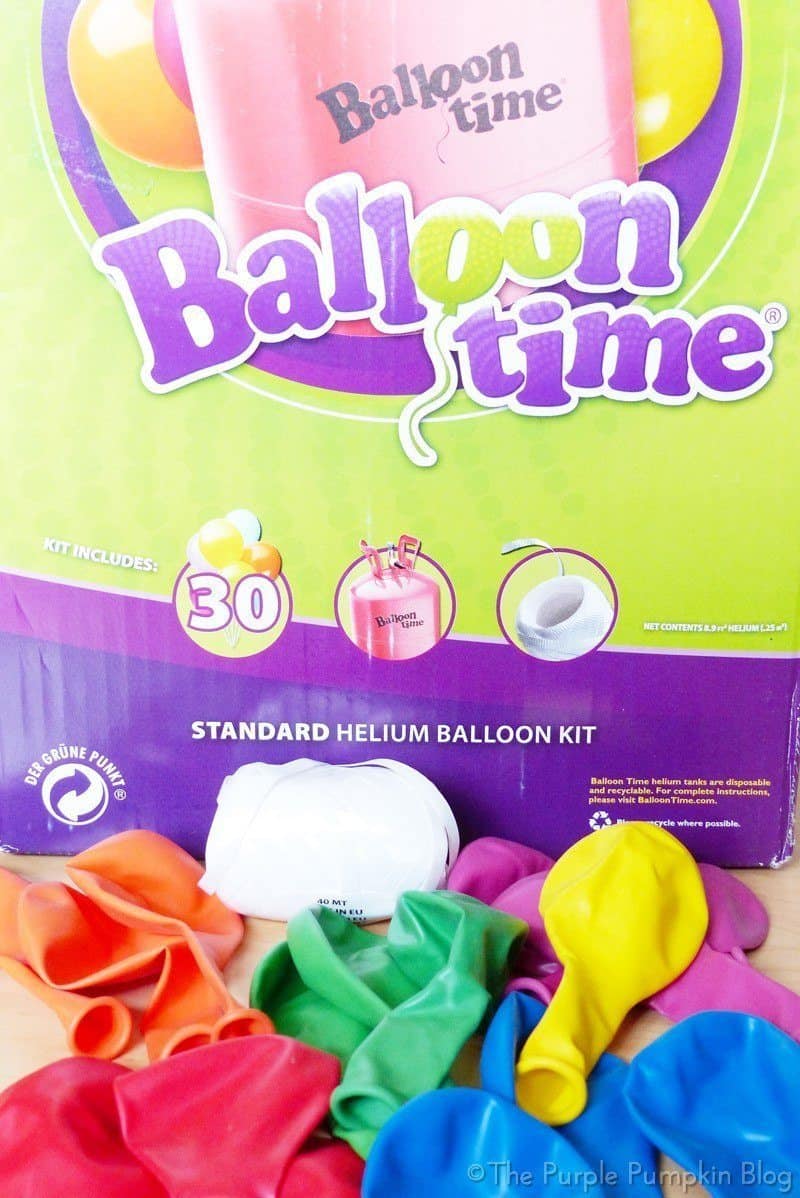
You can pick up a Balloon Time helium tank in Tesco or ASDA, as well as online (although, for Christmas delivery it might be a bit late now). The standard helium kit comes with a pack of 30 colourful (9″) balloons, ribbon, and of course the tank, which can fill up to 30, 9″ latex balloons, 16, 11″ latex balloons, or 16, 11″ foil/Mylar balloons. The tank is recyclable, so just take it down to your local recycling centre when it’s empty.

Create Christmas is a month long series on The Purple Pumpkin Blog where I share my ideas for Christmas and Winter. It could be a recipe, craft, printable, gift guide, fashion, or something else entirely! I’m struggling with my mental health at the moment, and I know I’m not going to be able to commit to this every single day – but I’ll give it a good try! Find all posts for Create Christmas 2015 here. And check out previous years here: Create Christmas 2014 | Create Christmas 2013 | Create Christmas 2012
Vaichin@RamblingThroughParenth
December 22, 2015 @ 10:02 pm
This is such a clever and easy idea. Looks utterly gorgeous. Perfect for the festive season x