How To Make Wrapping Paper Christmas Trees
Home » CREATE » Crafts »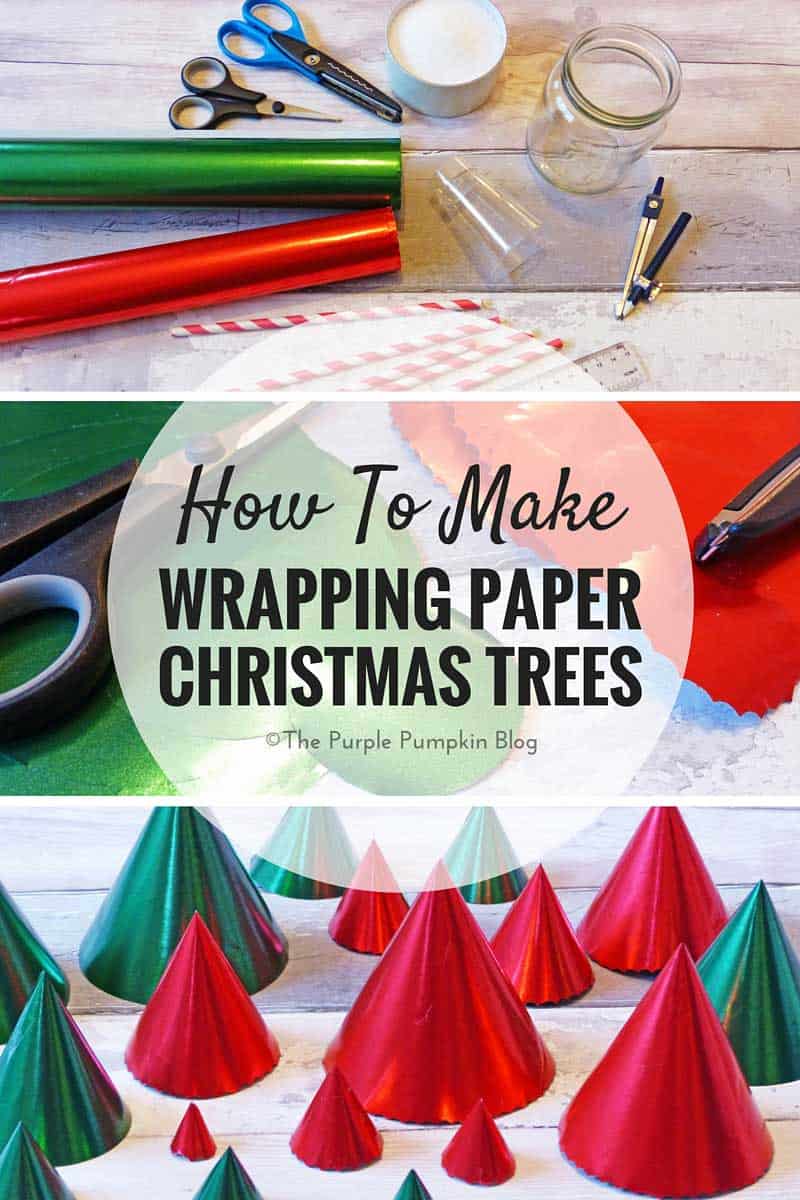

Wrapping Paper Christmas Trees
I wanted to make this craft as simple as I could, using things I had around the house, and what is there an abundance of at this time of year? Wrapping paper of course! I love how these wrapping paper Christmas trees have turned out – they’re so cute! They are perfect as decorations on the mantle, or for the festive dining table this Christmas.
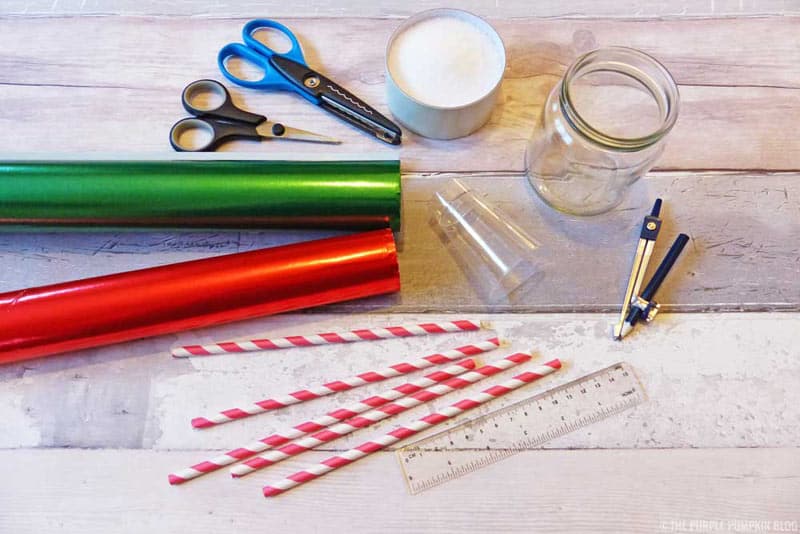
You will need
- Wrapping paper
- Compass & pencil
- Ruler
- Scissors
- Decorative edge scissors (optional)
- Straws
- Double sided or regular sticky tape
- Salt
- Shot glasses and/or jam jars
This post contains Amazon Affiliate links. If you clicked the link then made a purchase, a small percentage of the sale price would be paid to this me. It doesn’t cost you anything more but it helps keep the lights on over here!

Step 1
On the reverse of a piece of wrapping paper, draw out 9 circles. Set the compass at 10cm, 9cm, 8cm, 7cm, 6cm, 5cm, 4cm, 3cm, and 2cm.
Step 2
Carefully cut each one out with scissors. You can use decorative edge scissors if you like.
Step 3
Fold each circle in half, and cut to form two semi-circles. Fold over each semi-circle in half again, and pinch to find the centre. Place a strip of double sided tape (if using) from the centre out to the edge.
Step 4
Bend each semi-circle around to form a cone. A good tip is to form the cone first, before un-peeling the double sided tape so that you know you have the correct size that you want. Alternatively, form a cone, and place sticky tape along the edge to hold together.
Step 5
Pour salt into containers and add a straw. Stack up the cones however you wish, to form the Christmas trees in different sizes and styles. To make a tree with gaps, snip the tip from the top of the cone and thread the straw through. You can keep them in place with a little blob of white tack.
I’ve also got lots more Christmas Crafts for Adults for you to try out. Right-click and open a new tab to read next.
Create Christmas is a month long series on The Purple Pumpkin Blog where I share my ideas for Christmas and Winter. It could be a recipe, craft, printable, gift guide, fashion, or something else entirely! I’m struggling with my mental health at the moment, and I know I’m not going to be able to commit to this every single day – but I’ll give it a good try! Find all posts for Create Christmas 2015 here. And check out previous years here: Create Christmas 2014 | Create Christmas 2013 | Create Christmas 2012
Kate Williams
December 17, 2015 @ 7:58 pm
They are lovely Michelle! Will have to give them a try :)