How To Make Sushi At Home
Home » COOK » Recipes » How To Make Sushi At Home »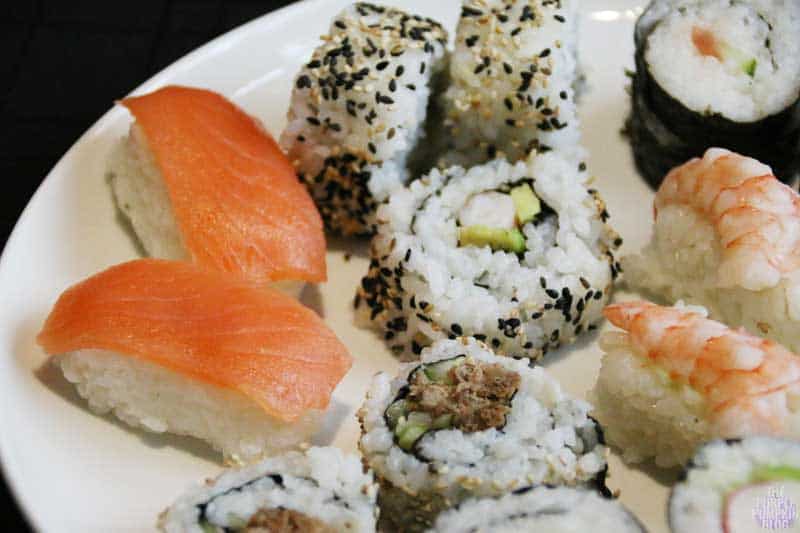
Toppings & Fillings
If you’re not a fan of fish and seafood, don’t think that you can’t have sushi! You can use a selection of vegetables, as well as meat (chicken, beef, duck) when making sushi too. You can also make it fusion, but adding western ingredients like cream cheese or mayonnaise.
I used a selection of cooked fish and seafood (smoked salmon, prawns, and seafood sticks), as well as vegetables (cucumber, red pepper, spring onion, and avocado), and meat (hoisin duck).
I find with a lot of Far Eastern recipes, advanced preparation is the key; so I cut the smoked salmon into strips, and butterflied the prawns. I cut the vegetables into thin batons. I left the seafood sticks whole, and bought the hoisin duck from my local supermarket, ready cooked – I just had to stir in the sauce.
I didn’t want to chance eating raw fish from the supermarket shelves, as I couldn’t be absolutely sure on their freshness. Ask your fishmonger if they can get you sushi grade raw fish like salmon, tuna, and sea bass.
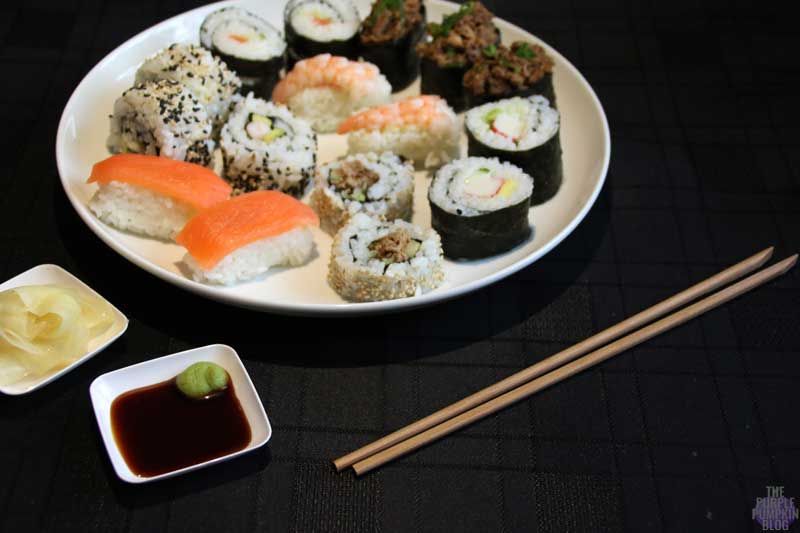
Don’t forget the condiments either – soy sauce, wasabi paste, and pickled ginger. The ginger is meant to be eaten between different types of sushi to cleanse the palate.
Sushi Filling & Topping Suggestions
- Smoked salmon, cucumber, and cream cheese
- Prawn, avocado, and mayonnaise
- Seafood sticks, cucumber, and avocado (California Roll ISO)
- Seared strips of thinly sliced beef
- Slices of seared fresh tuna
- King prawns, butterflied
- Hoisin duck, cucumber, and spring onion
- Shredded crab, avocado, and mayonnaise
- Chicken teriyaki and cucumber
- Chicken katsu
- Prawn tempura and avocado
- Seared scallop
- Bell peppers, cucumber, carrot, avocado, spring onion, asparagus, enoki mushrooms
How To Make Sushi At Home
With everything prepared, it’s time for the fun part – the assembly! Have everything you need laid out on the table in front of you, so that it is all within easy reach.
Tips:
- Wrap the sushi mat with cling film. This will help to make cleaning the mat a lot easier.
- Have a bowl of water nearby to wet your hands when handling the rice – it is really sticky stuff!
- Have a damp paper towel handy to clean your hands between making each type of sushi.
- Make sure your knife is super sharp to cut the rolled sushi into pieces. You can wet the blade between slices to prevent the rice from sticking to it.
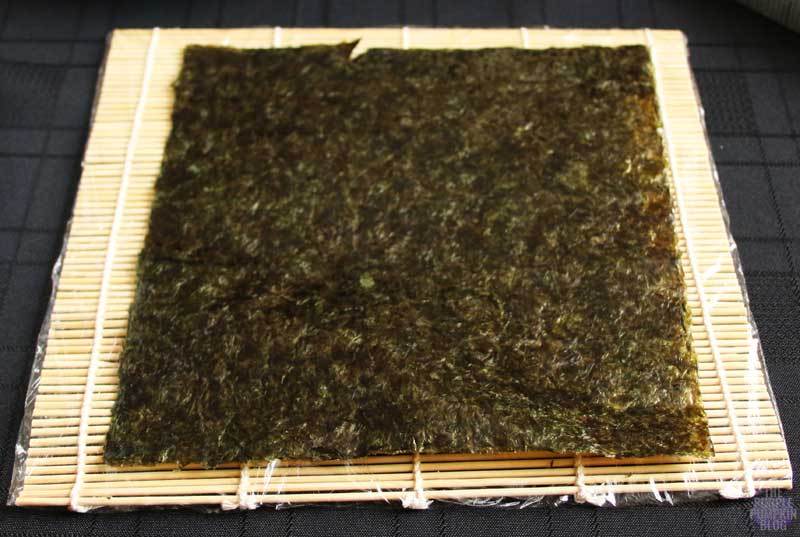
- To make thin maki rolls, use half a sheet of nori; for thicker rolls, use a full sheet.
- Nori has a shiny side, and a dull side. You want the shiny side to be the outside of the roll.
Smoked Salmon & Cucumber Maki and Seafood Sticks, Cucumber & Avocado Maki
Use photos for a guide. Next time I make sushi, I’ll make a video, as it’s easier to show, than to explain in words!
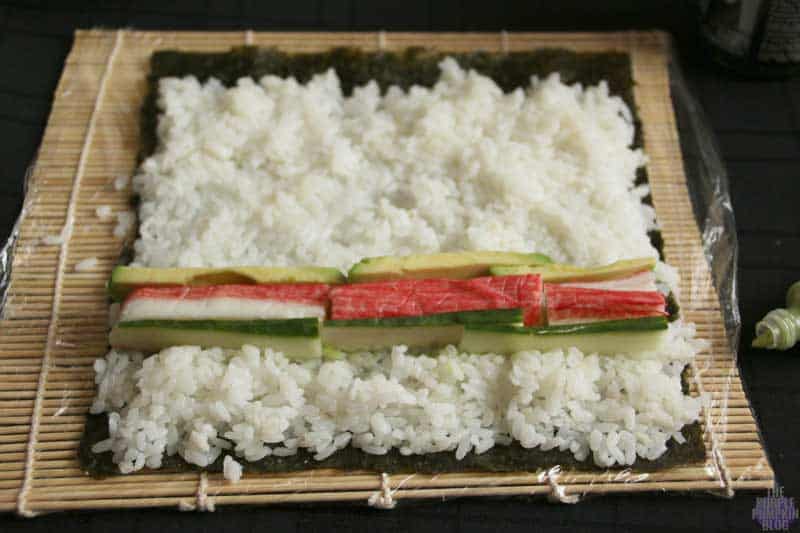
- Place a sheet of nori on the rolling mat, shiny side down.
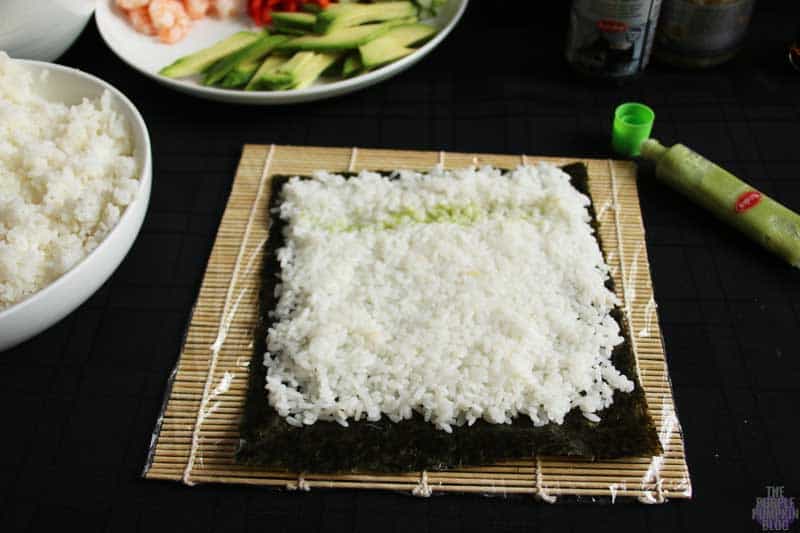
- Wet your hands, then take a handful of rice and spread across the nori. Leave about 2cm/1″ at the top end (furthest away from you, I know my photos are showing the other way!). Be careful to not make the layer of rice too thick, and try to keep it evenly spread.
- About 1/3 up from the bottom (closest to you) make a gentle indentation. Rub a small dab of wasabi paste along, then add a line of filling.
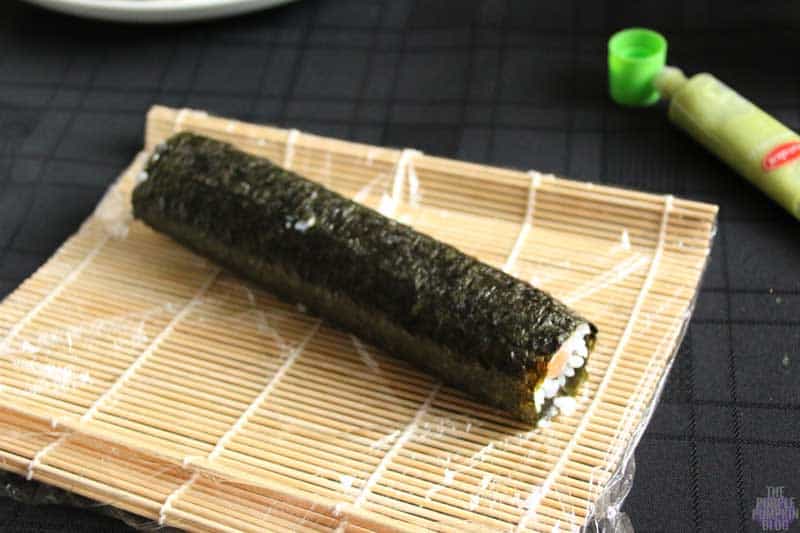
- Bring the bamboo mat up and over the filling – be careful, yet confident.
- Then keeping it rolled over, pull it back to firm up, and continue to roll with an even pressure. The nori should seal on itself, but if it doesn’t, wet your finger with some clean water and run it along the edge of the nori so that it will stick.
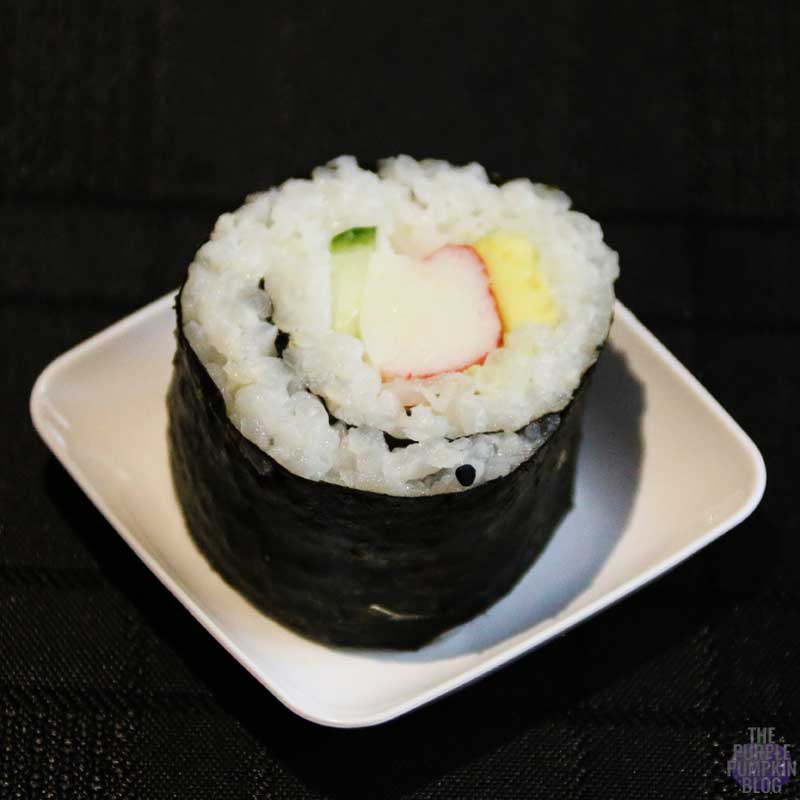
- Cut into bite size pieces with a sharp knife.


Danielle
January 17, 2017 @ 10:42 am
Love this guide! I’m a big sushi lover but I prefer to get it done by a pro – I’m not much of a chef. I’ll have to give it another go after seeing this!