Creating a Craft Corner – Ideas + Inspiration
Home » Ad »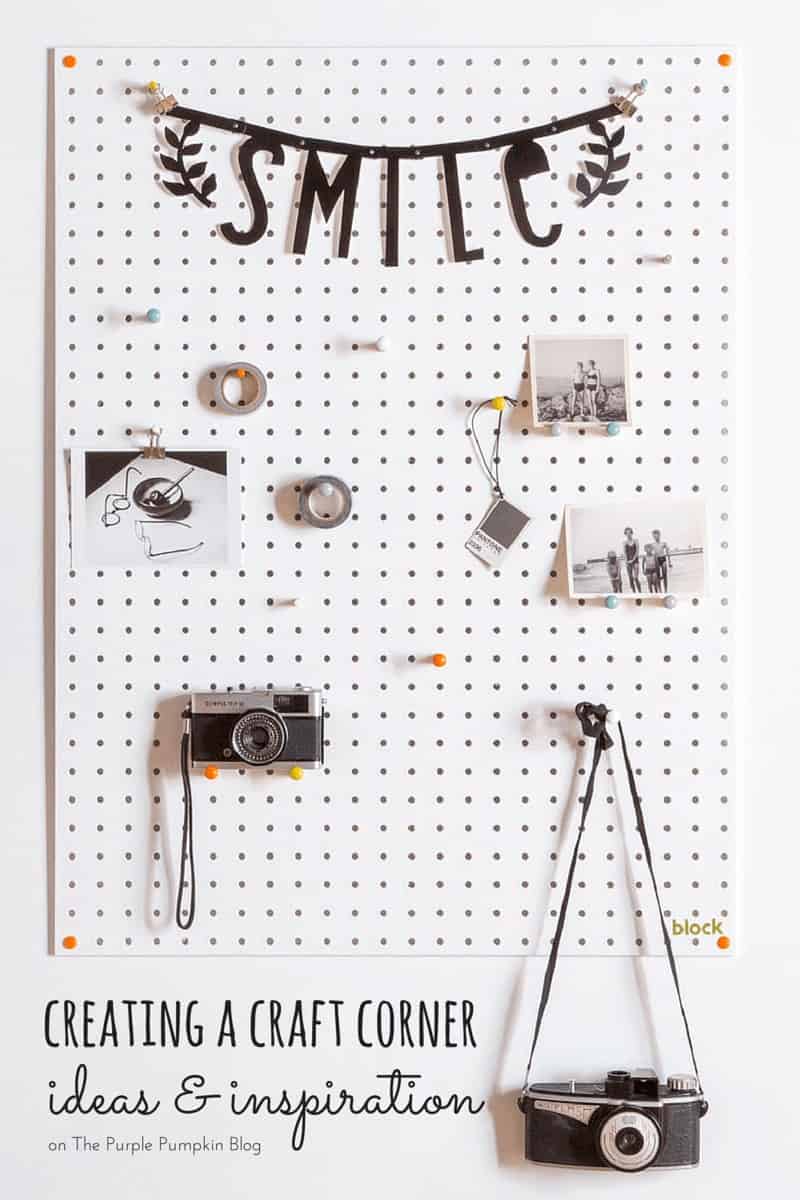

You may remember when I showed you how I set up my home office in a small space? As much as I would love to have a dedicated room for a home office, I don’t, and have to use a recessed area of my bedroom. What I didn’t show you in that post was what was next to my desk…It’s a cluttered mess right now, with boxes of books and who knows what, drawers filled with bits and bobs, and stacks of my beauty boxes. It’s such a wasted space at the moment, but, my intention is to turn it craft corner, where I can store my craft stash, and have everything within easy reach of my desk.

I know, realistically, that I won’t be able to have ALL of my craft stuff stored here – I just have too much stuff! And I don’t want to feel hemmed in, the way that I do now, by having everything stacked up beside me, but I would like to have basics to hand, with more specialised stuff, neatly organised elsewhere. At the moment I have my craft supplies split across 10 or so different plastic storage boxes, and a lot of the time I have to pull everything out to find something. It’s not a good system at all, and the reason you’ve not seen many craft posts from me in a long time – I just don’t have the mental energy to deal with it all!
As always, I look online for inspiration, and whilst I don’t have a dedicated craft room board on Pinterest, I do have my Organise This! board where I put all of the fab organising ideas that I find.
Follow The Purple Pumpkin Blog’s board Organise This! on Pinterest.
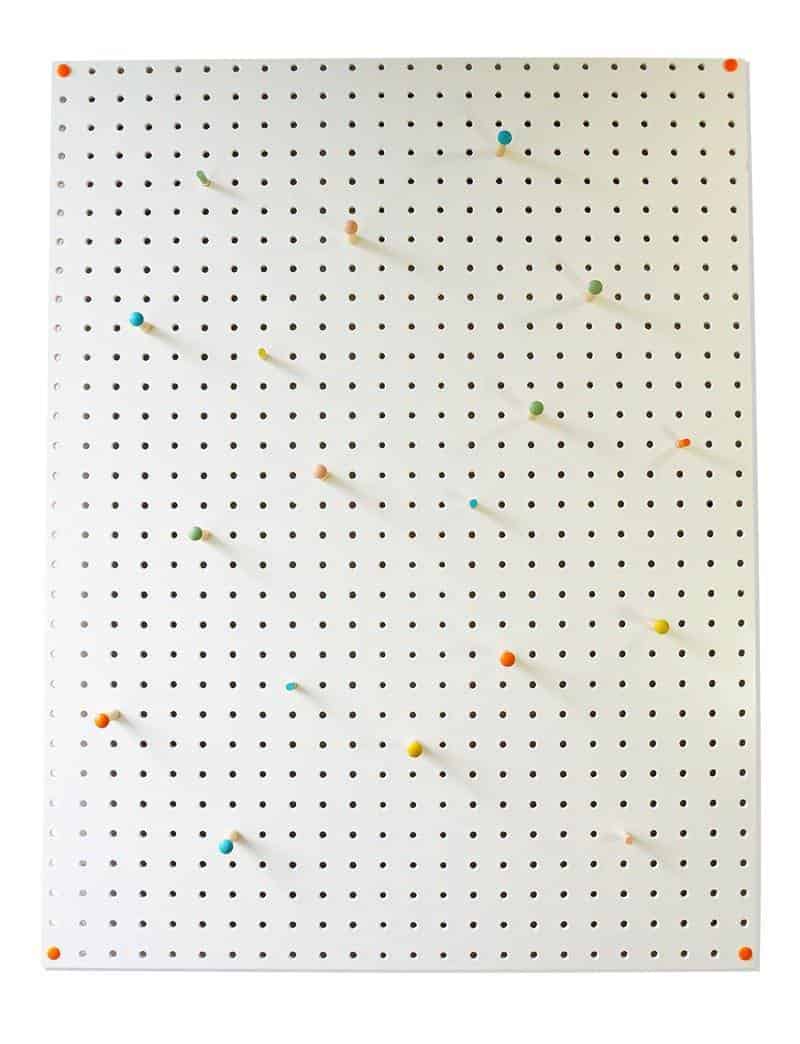
One craft room item that I have had my eye on for a long, long, time is a pegboard. I think they look cool and you can hang lots of different things from them. When Red Candy asked if I would like to review something from their site, I immediately zoned into the pegboards which they have for sale…I picked white, as I know my board would receive colour pops from hanging scissors and rolls of washi tape and ribbon; but there are other colours including yellow, orange and grey.
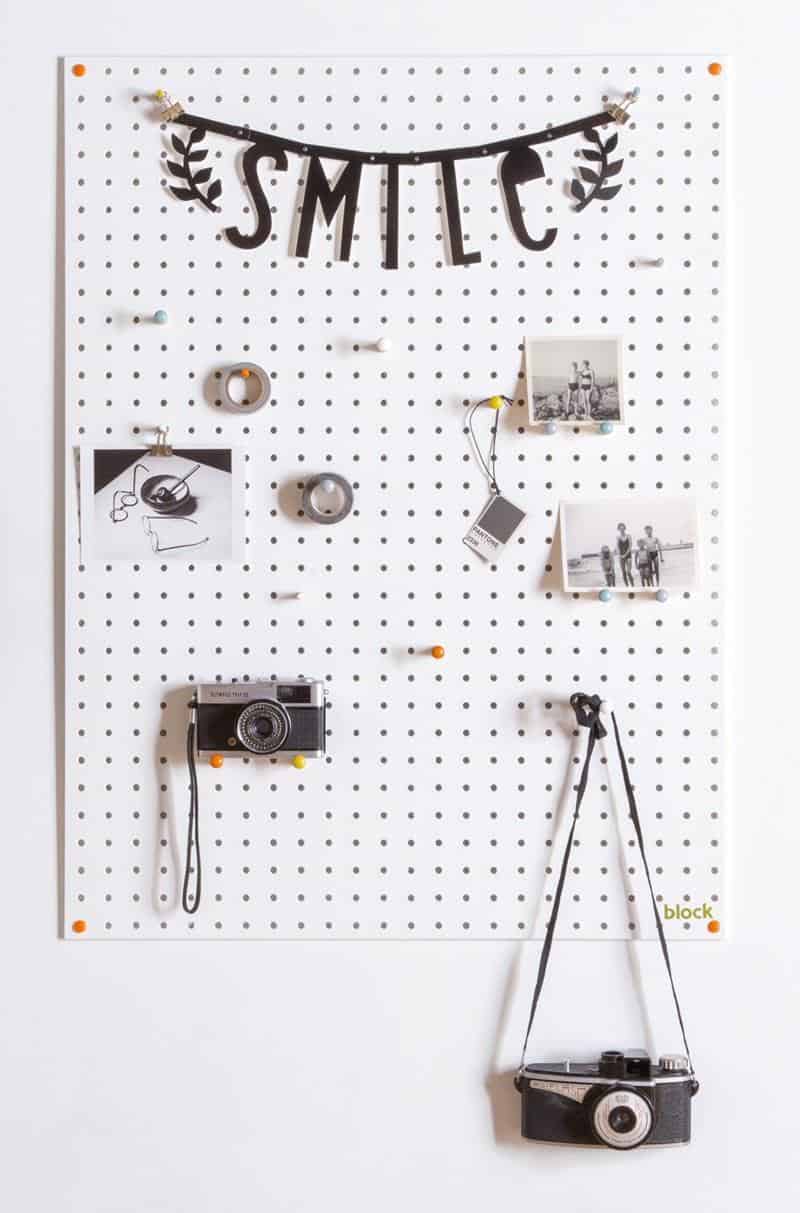
At the moment, my pegboard is still packaged up, waiting for me to finally clear my craft corner and put it up; but as we are in the middle of decorating, I am waiting until that is finished before I set it up. I thought I would hang it up horizontally instead of vertically, and add a shelf above to hold boxes with lesser used items, and add a shelf below to store jars and smaller boxes. This would then give me somewhere underneath to have a rail for hanging things, and then the bottom shelf which is already in place in this corner. Not sure what will go there yet – maybe some small drawer units or something.
I have a vision in my head of how I would like my craft corner to look, and when I have finished it, I will write a new post showing you how it turned out. For now, here are some ideas for creating your own craft corner at home.
Declutter + organise your craft stash
I know us crafters don’t like to throw anything away – even the tiniest scrap of paper, but go through your stash and toss out pens that have run out, ink pads that have dried up, the bits and bobs you’ve been saving for years because “you might use them one day”. Of course, if you’re not short on space, then keep it all, but if, like me, space is limited, you may have to be ruthless!
With everything declutter, group things together – scissors, glue ribbon, scraps etc, so you can see how much of everything you have – this will then give you an idea of how to best utilise the craft corner that you set up.
Designate a corner + clear it
Before you can start thinking about setting up your craft corner, you need to designate a corner of your chosen room for that purpose! It could be an empty space that isn’t being used, or even a cupboard that could be used better.
Remove everything so that you can see the space clearly and to give you some sense of what you could do with it.
Upcycle containers for storage
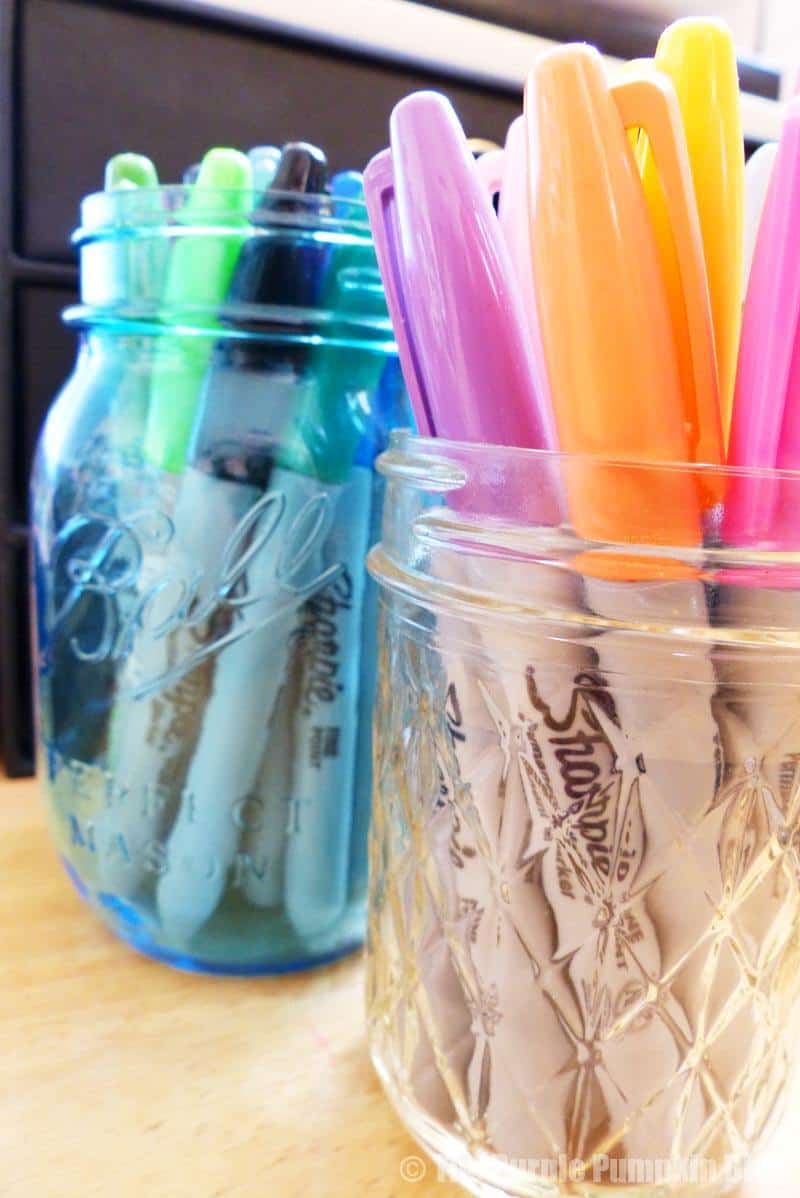
Old jars, old tea cups, that random box you’ve been saving for something – they can all be upcycled to make useful containers for your stash. I’ve got my marker pens sitting in jars on my desk at the moment, and having them just there means I can reach for them really easily and see all the colours. A genius idea I’ve seen, is attaching the lid of a jar to the underside of a shelf (with a nail or screw) and then, screwing the jar filled with little crafting items (buttons for example) to hang from beneath the shelf. I’m definitely considering that for my craft corner.
Clear containers work well so you can immediately see what is inside, but if that’s not an option, decorate the outside so you can see at a glance what the contents are.
As well as containers for stuff, don’t leave wall space empty – I’ve already mentioned a peg board, but what about a cork board, a chalk board, a frame with wires to hang things from?
Most of all, have fun!
I’m really looking forward to organising my craft stash and setting up my craft corner. I am hoping that it will kick start my crafting, which has been on a back burner for a very long time now! I promise I will update you when I’ve finally got my craft corner all set up!
Louisa
April 1, 2015 @ 10:47 pm
I can’t tell you how much I want a peg board for my craft room. I am temporarily sharing the eldests’ bedroom until the loft conversion is turned into my craft space so I have my craft boxes stored in my wardrobe (and have no room for clothes). I can wait to get it all out and start crafting again x
Michelle Ordever
April 2, 2015 @ 9:08 am
They look great don’t they?! I’m ashamed to say that mine is still not up – where does time go?
How exciting for the loft conversion! That was our plan, so we could have a master suite up there, and my craft room/office down here where the bedroom is… plans had to change. Look forward to seeing your craft space when its finished! x