Easter Chick Wreath
Home » CREATE » Crafts » Easter Crafts »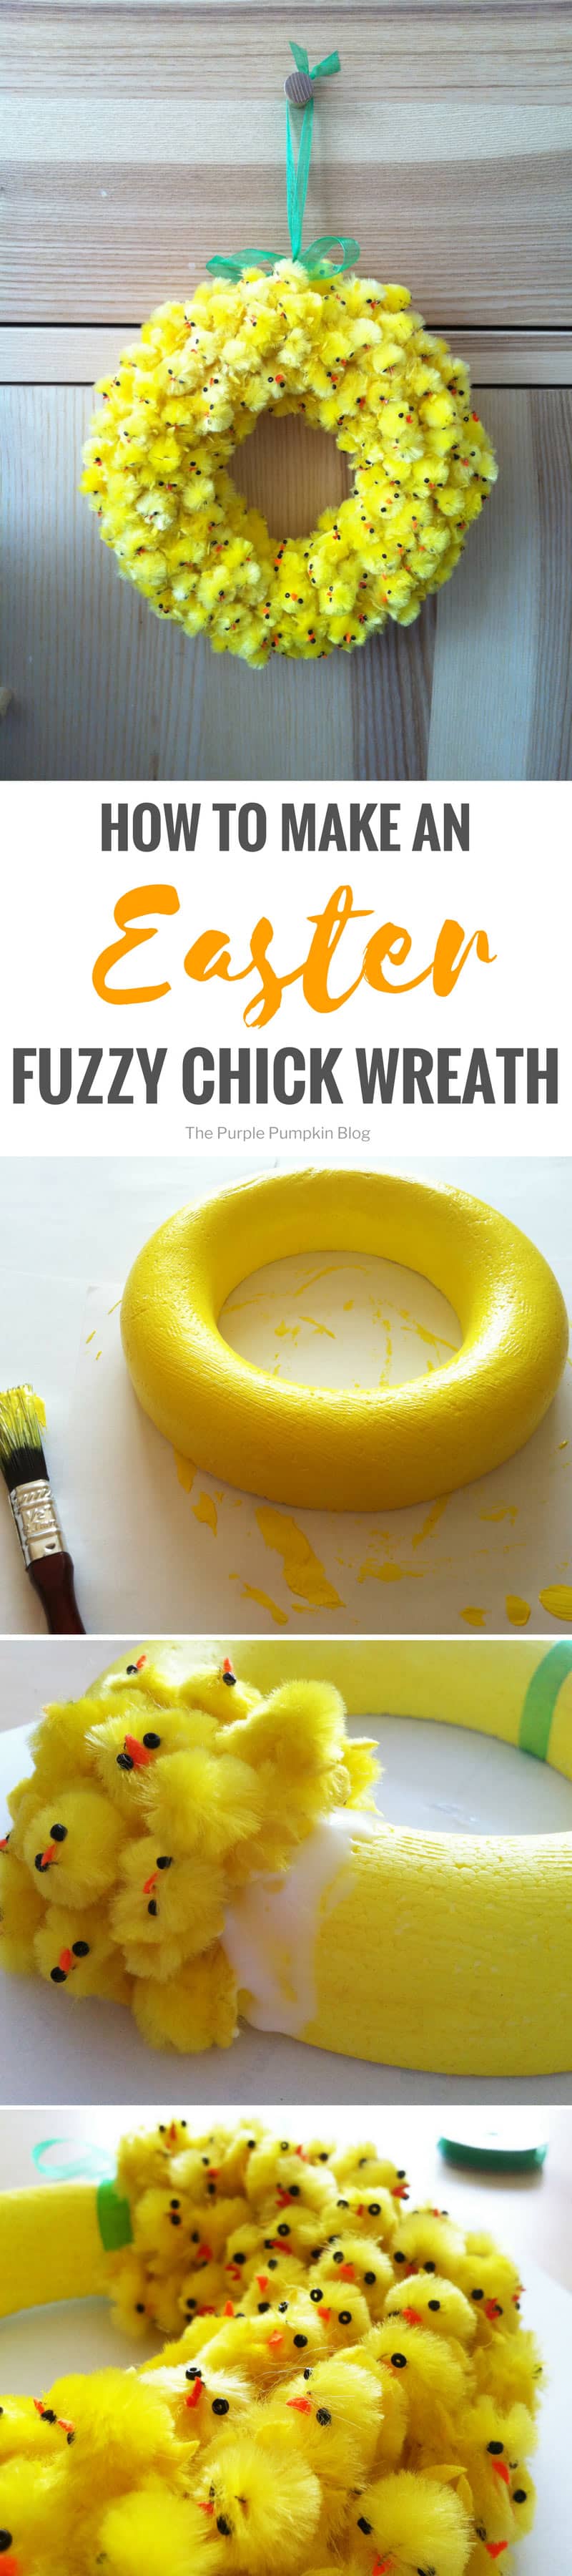
Time is truly running away with me! I’ve got a list so long of blog posts I want to write, as well as a list of things I need to cook, craft and create to share with you. As a blogger I really should think about seasonal things months in advance, but the truth is, I just don’t!
It’s hit me that East is just a few weeks away, and I should be sharing lots of lovely Easter ideas with you, but at the moment, I have nothing done – eek! To that end, I’m reposting this super cute fuzzy chick Easter wreath. You can pick the chicks up from craft shops, or for even cheaper at poundshops. I still have this wreath that I made back in 2012 :D
2013… I’m decorating today for Easter tomorrow – I’ve got my fam coming over for lunch and I’m desperately trying to find this cute Easter Chick Wreath I made last year…alas, it is no where to be found *sobs* It was such a labour of love to make this – it must be somewhere!
I thought I’d re-share this wreath as it is super cute, and well worth the effort it takes to stick all those fuzzy chicks on!!
On my journeys through Blogland last year, I came across this cute wreath on Design Editor and I made a mental note of to make one myself when Easter rolled around in 2012. I remembered all about it when I was out shopping one day and saw these cute fuzzy chicks for sale in the Poundshop, so I snapped up several boxes in preparation.

Here’s what you will need to make your own Easter Chick Wreath – I made mine in a few hours, so there is still time to make one for Easter this year :)
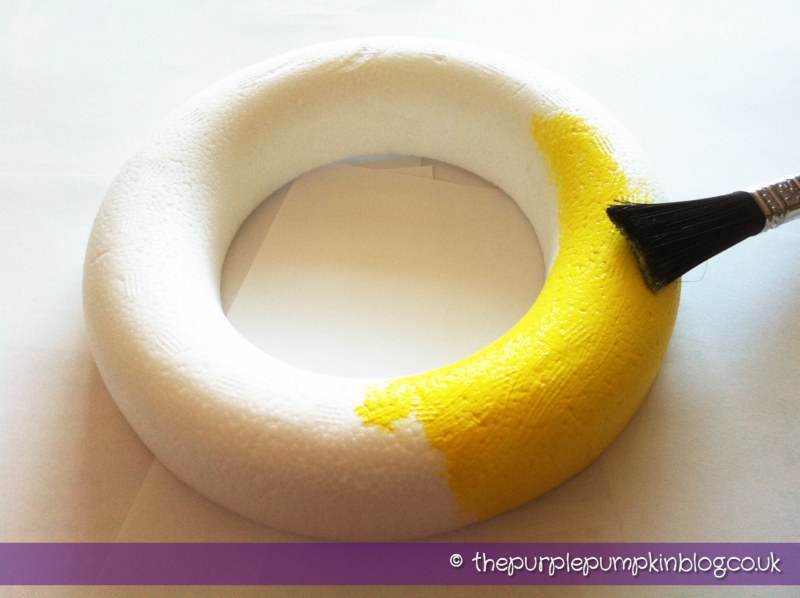
- polystyrene ring (approx 17cm in diameter)
- yellow acrylic paint & brush
- PVA/styrofoam glue (which dries clear)
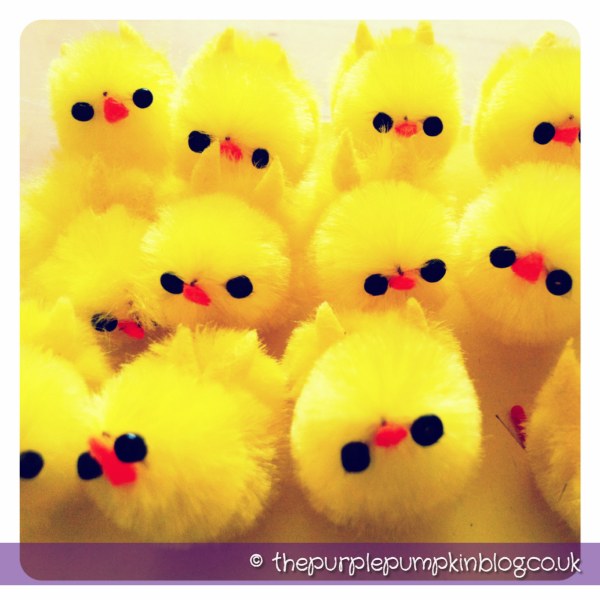
- 180 mini fuzzy chicks
- green ribbon

I bought my polystyrene ring from Hobbycraft for £1.49. Next to the rings in the craft shop was some styrofoam glue which I picked up – seems to be the same as PVA glue, so the choice is yours. It cost £1.99 The little chicks were bought from Poundland, for you guessed it, £1 a box. There were 18 in a box and I used 10 boxes. I had green ribbon in my craft stash, along with some acrylic paint and brushes. This wreath cost me around £15 to make…no one said crafting was cheap! (no pun intended ^_^)


I started off by painting my wreath yellow – just in case there were gaps in the rows of chicks and that way you wouldn’t see the white of the ring underneath. So using a brush and yellow acrylic paint, I quickly applied it and left it to dry for a couple of hours.

I then tied a ribbon around what would be the top of my wreath so that I could hang it in a suitable place. Give yourself more ribbon than you think you need to tie a bow when you’ve finished and leave enough for hanging. You’ll be sticking chicks over the ribbon that is tied around the wreath.

Next came the moment that I had to figure out the best way to apply the little chicks. The blogger that I got my inspiration from stuck her chicks in very neat little rows using the feet – my cheapy chicks didn’t seem to want to do this, so I snipped the feet off, leaving two little plastic prongs to use to stick into the polystyrene instead.
I started at the bottom in the middle and worked my way up and around – but you do what is easiest for you, using either nice and neat rows, or haphazard like I did :D I did start off going around the ring in neat rows and then gave up >_<
I put my first chick on the base around the outside, and then moved up and over around the ring to the inner section – I used 6 chicks to go around. I hope this makes sense and you can get what I was doing from the photos!

To reinforce the chicks I also spread glue all over the polystyrene so that they wouldn’t budge, and one by one, patiently stuck each little chick into and around the ring.

When I got to the ribbon at the top and half way around, I let the wreath dry for about an hour or so as I would have to handle some of the already stuck down chicks as I put the rest all around – I didn’t want them falling out!


I then continued around, pushing little chick’s legs into gluey polystyrene until I had covered the whole wreath.
I then tied a bow, which I double knotted to stop from unfurling and then tied the ribbon together at the top to make a loop to hang the wreath up. I probably did that in a complete topsy turvy fashion – you don’t have to make a bow, you can just tie a loop up – whatever you find is easiest and best for you!


And there we have it – possibly the cutest Easter decoration I have ever made!
